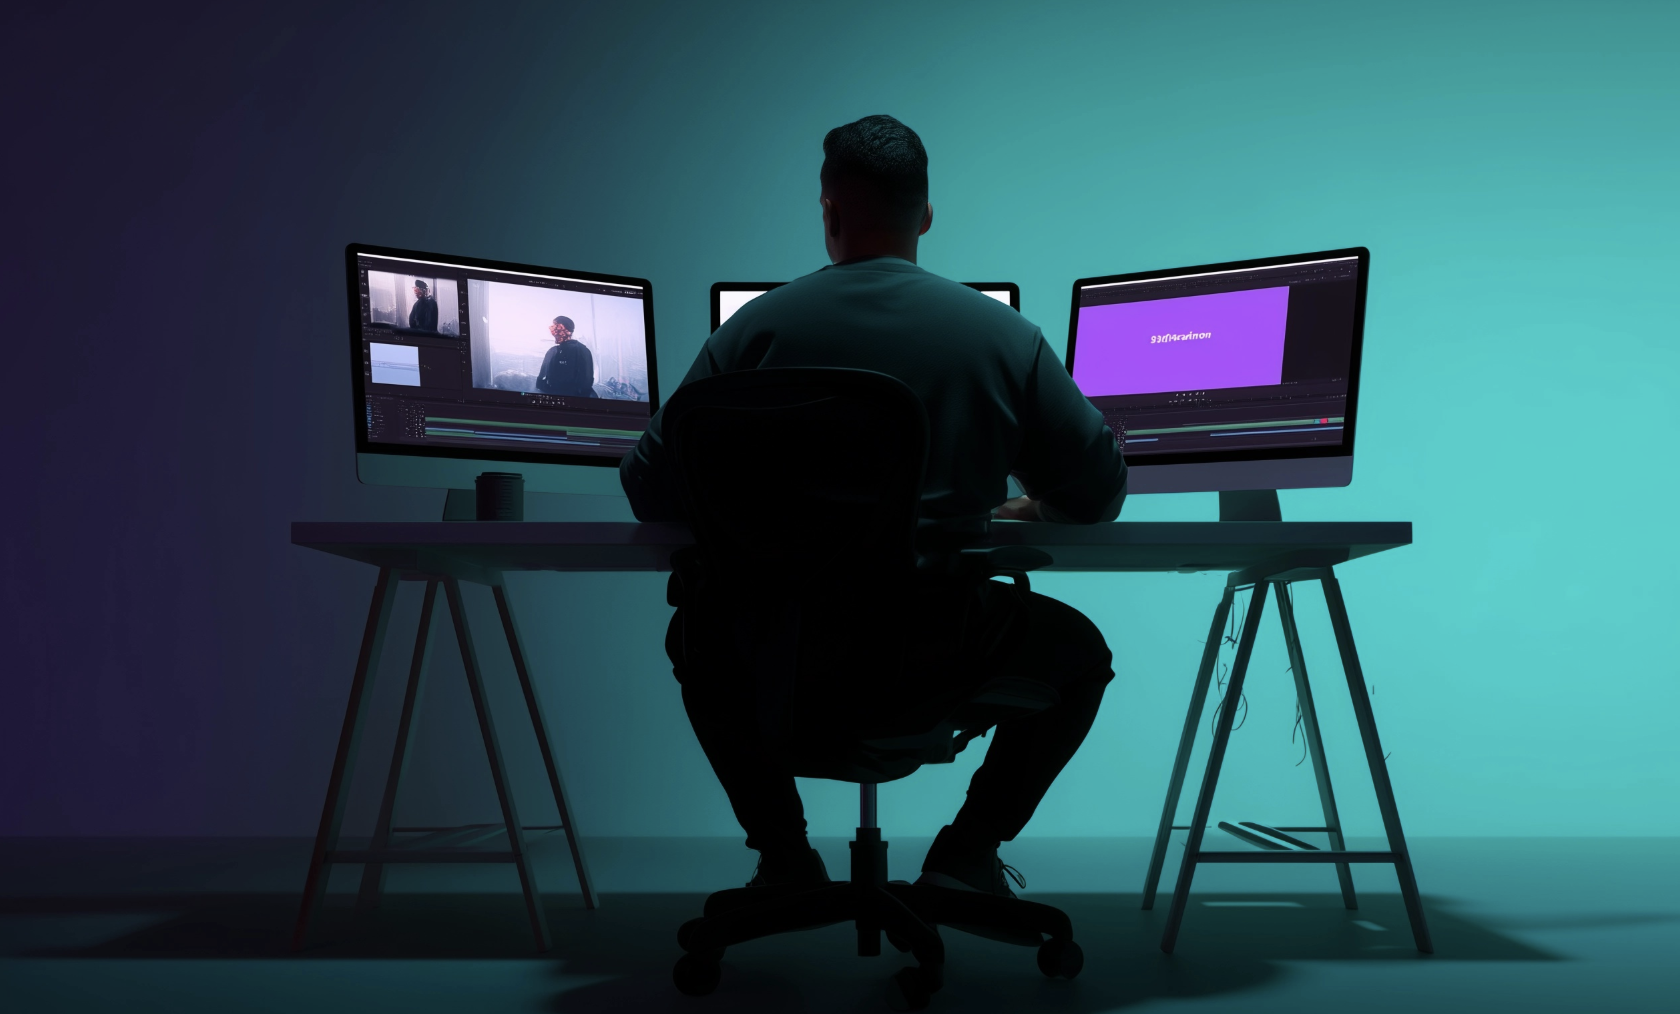
Motion blur is one of the most effective tools in video editing to make movement look smooth, natural, and cinematic. Whether you’re animating text, creating slow motion, or working with fast-moving action shots, adding motion blur in DaVinci Resolve gives your edits a polished, professional look.
In this guide, you’ll learn step by step how to add motion blur in DaVinci Resolve, the different methods available, best practices, and common troubleshooting tips.
How to Add Motion Blur in DaVinci Resolve (Fusion Panel)
The simplest way to add motion blur in DaVinci Resolve is by using the Motion Blur node in the Fusion workspace.
Step 1: Open Fusion
Select your clip in the timeline and switch to the Fusion workspace.
Step 2: Add a Motion Blur Node
Right-click in the node area → Add Tool > Filter > Motion Blur.
Step 3: Connect the Node
Insert the Motion Blur node between your media node and the output.
Step 4: Adjust Settings
- Shutter Angle → controls the strength of the blur (180° for natural film look, up to 360° for stronger blur).
- Samples → higher values = smoother blur but heavier on performance.
Step 5: Preview and Refine
Play your timeline and tweak until the motion looks realistic.
How to Add Motion Blur in DaVinci Resolve (Color Panel with Optical Flow)
You can also enable motion blur through Optical Flow settings in the Color panel—perfect for slow motion or retimed footage.
Step 1: Go to the Color Panel
Select your clip and open the Color workspace.
Step 2: Enable Optical Flow
Right-click your clip → Retime and Scaling → choose Optical Flow.
Step 3: Enable Motion Blur
Under Retime Process, select Motion Blur.
Step 4: Adjust Strength
Fine-tune until the movement looks cinematic without causing artifacts.
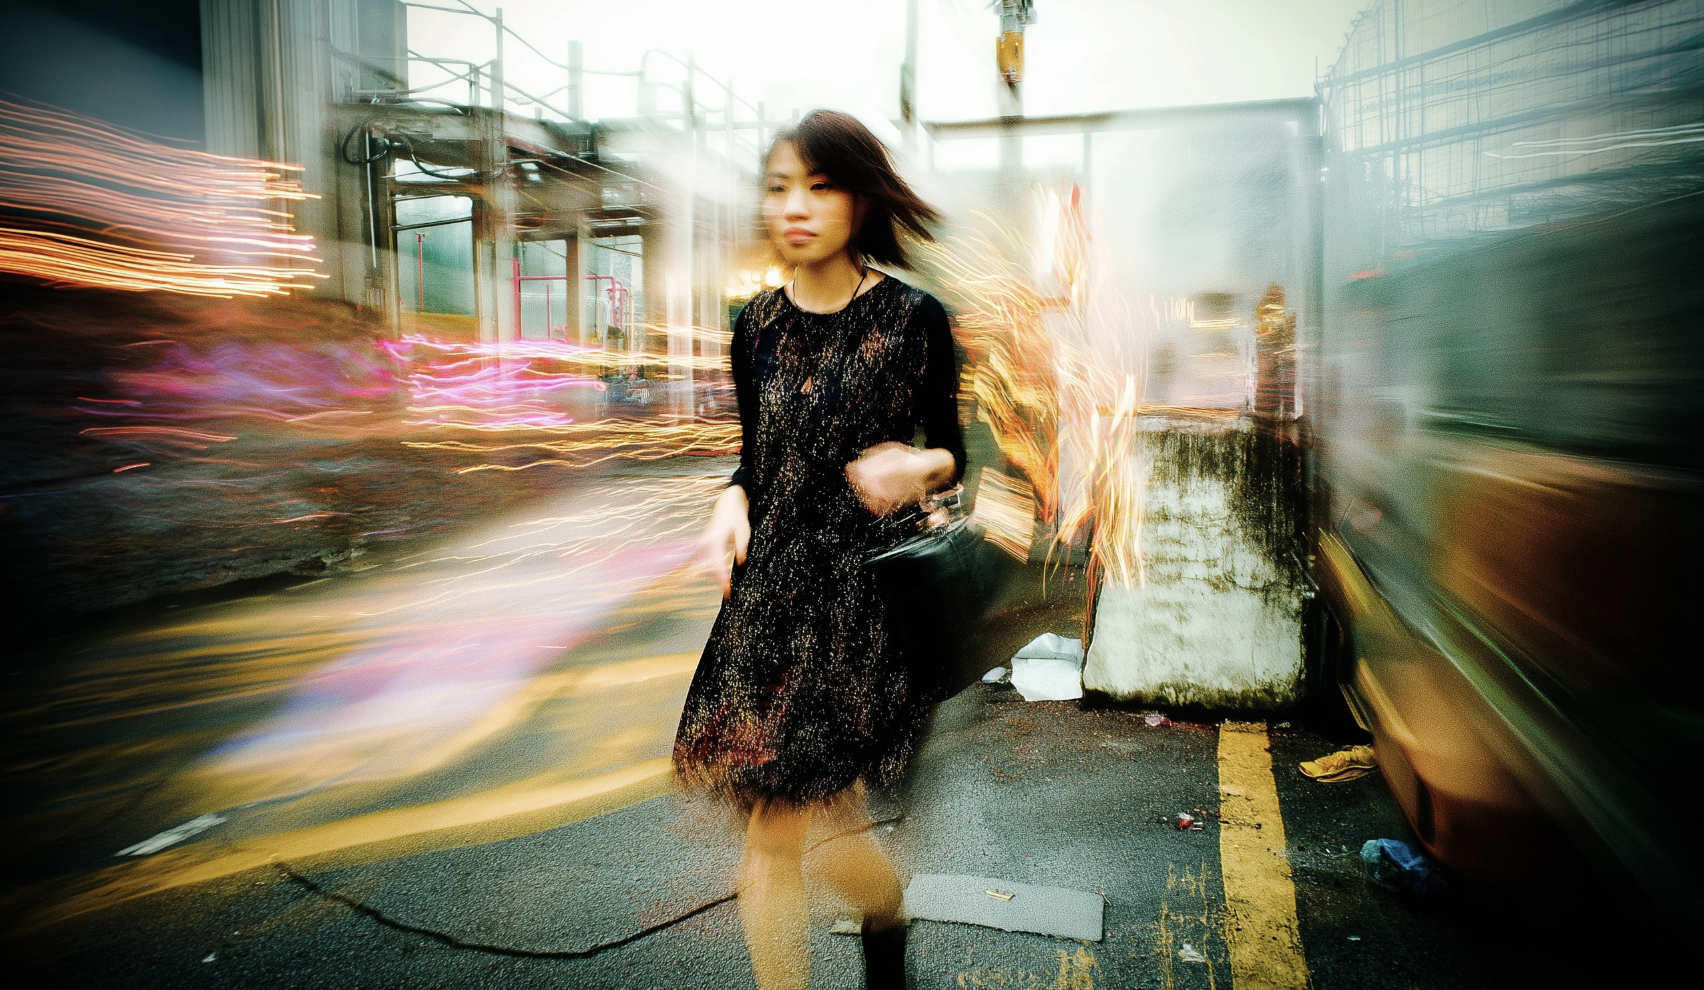
Creative Uses of Motion Blur in DaVinci Resolve
- Text Animations: Adding blur to moving titles or lower thirds makes them look cinematic.
- Transitions: Blurs help smooth out wipes, zooms, and other fast transitions.
- Slow Motion: Optical Flow with motion blur produces natural-looking slow-motion clips.
- Action Shots: Fast pans or quick movements look less harsh and more film-like.
If you often work with fast action shots, you can combine motion blur with motion tracking to create even smoother and more dynamic movement in your scenes.
Best Practices for Smooth Motion Blur
- Keep Shutter Angle around 180° for realistic results.
- Use higher samples for smoother blur (but optimize performance if playback lags).
- Stabilize shaky footage before applying blur for best results.
- For animations, always combine keyframing + motion blur to keep results natural.
For an even more cinematic result, consider adding subtle vignettes after applying motion blur to enhance depth and focus.
Troubleshooting Motion Blur in DaVinci Resolve
- Playback is choppy → lower samples or use optimized media.
- Artifacts in slow motion → change Motion Estimation method (Enhanced vs Speed Warp).
- Blur looks too strong → reduce shutter angle.
- Effects not visible → check if the node is correctly connected in Fusion or if Motion Blur is enabled in Retime settings.
Conclusion: Elevate Your Edits with Motion Blur
Adding motion blur in DaVinci Resolve is one of the easiest ways to make your edits look professional and cinematic. Whether you’re working on text animations, slow-motion footage, or fast action shots, mastering this tool will dramatically improve your storytelling.
If you want to go beyond the basics and learn DaVinci Resolve in depth, check out the DaVinci Resolve Course by Miracamp. With guided lessons, expert coaching, and a professional certificate, it’s the perfect path to mastering one of the most powerful video editing tools in the industry.
FAQ: Motion Blur in DaVinci Resolve
How do I add motion blur in DaVinci Resolve?
Go to the Fusion panel, add a Motion Blur node, connect it to your media, and adjust shutter angle and samples for natural results.
Can I add motion blur to slow motion in DaVinci Resolve?
Yes. Use the Color panel with Optical Flow, enable Motion Blur under Retime Process, and refine settings to smooth slow-motion clips.
Is motion blur free in DaVinci Resolve?
Yes. Both the free and Studio versions include motion blur. However, advanced Optical Flow features like Speed Warp are exclusive to the Studio version.