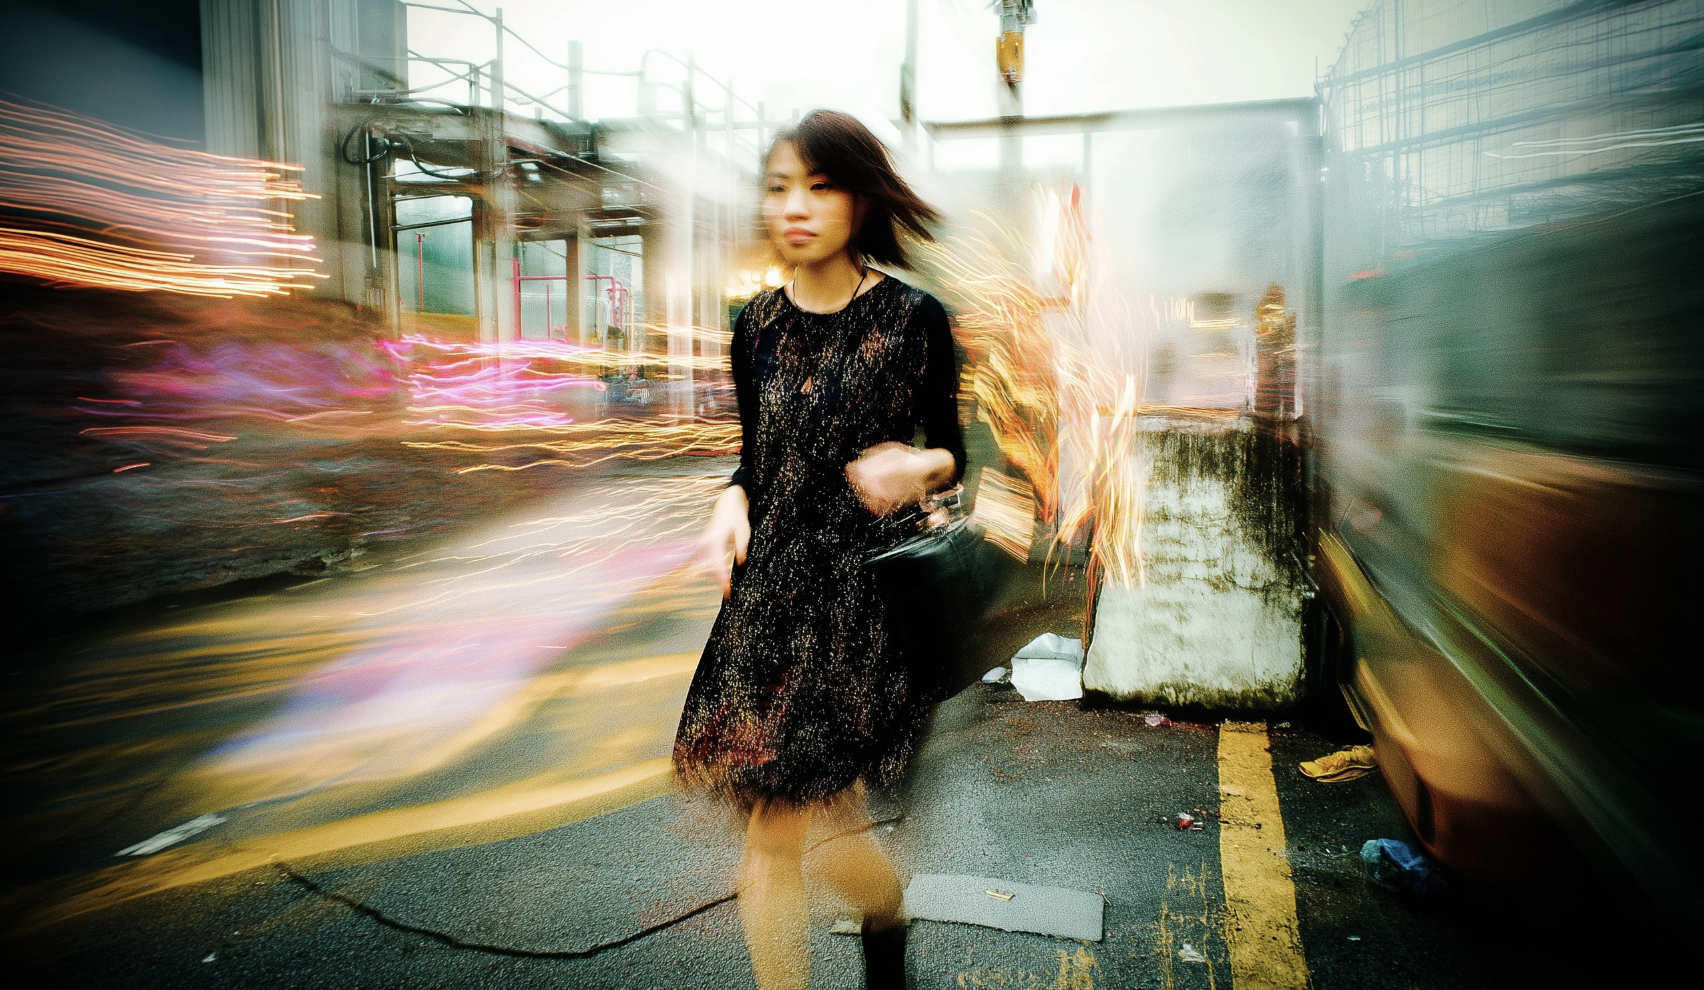
Color grading is one of the most powerful tools in filmmaking, and in DaVinci Resolve, LUTs (Look-Up Tables) are a game-changer for achieving professional, cinematic results quickly. Whether you’re editing a feature film, a travel vlog, or a documentary, choosing and using the right LUTs can completely transform your project.
1. What Are LUTs in DaVinci Resolve?
A LUT, or Look-Up Table, is a mathematical formula that remaps the colors of your footage to achieve a specific look. In DaVinci Resolve, LUTs are widely used to:
- Match the look of specific film stocks
- Convert log footage to Rec.709
- Apply creative color grades
- Speed up workflow for consistent results
2. Types of LUTs in DaVinci Resolve and Their Uses
You can also expand your toolkit with free transitions, grades, and effect presets in our DaVinci Resolve free presets collection — perfect for creators who want fast, high-quality looks.
3. Best LUTs for Different Genres in DaVinci Resolve
4. Where to Find the Best LUTs for DaVinci Resolve
Free LUT Sources
- DaVinci Resolve’s Built-in LUT Library – Comes with technical and creative LUTs.
- Cine LUTs Free Packs – Great starting point for beginners.
- Ground Control – Offers free and paid LUTs.
Paid LUT Sources
- VisionColor Osiris & ImpulZ – Industry favorites for cinematic grading.
- Triune Films LUT Packs – Great for stylized looks.
- Ground Control Pro Color Grading in DaVinci Resolve – Professional-grade LUT collection.
- Lutify.me – Subscription-based library of creative LUTs.
5. How to Use LUTs Properly in DaVinci Resolve
Step-by-Step Guide:
- Import Your LUTs: Go to DaVinci Resolve Preferences → Color Management → Open LUT Folder and drop your LUT files inside.
- Apply the LUT: In the Color workspace, right-click on a node → 3D LUT → Choose your LUT.
- Adjust Intensity: Use the key output gain to blend the LUT with your footage.
- Refine with Additional Grading: LUTs are a starting point, so tweak contrast, exposure, and white balance for perfection.
- Use LUTs in a Node Structure: Place technical LUTs early in the chain, creative LUTs later for maximum control.
6. Pro Tips for LUTs in DaVinci Resolve
- Avoid One-Click Grading: Always make adjustments after applying a LUT.
- Use Power Grades: Save your favorite LUT + adjustments as a Power Grade for consistency.
- Match Footage First: Ensure all shots have balanced exposure before LUT application.
- Experiment with Blending: Lower LUT opacity for subtle, natural results.
For even more control over mood and subject emphasis, you can add subtle vignettes. Learn how to use them correctly with our DaVinci Resolve vignettes guide.
Conclusion
LUTs in DaVinci Resolve are an incredible way to speed up your workflow and achieve professional-grade results. From cinematic looks to subtle enhancements for documentaries, there’s a LUT for every project.
If you want to master DaVinci Resolve and learn advanced techniques in video editing, check out our DaVinci Resolve Course.


