Rotating a video in DaVinci Resolve is a simple but powerful technique for fixing orientation issues or creating unique cinematic effects. Whether your footage was recorded at the wrong angle or you want to experiment with creative framing, this guide will walk you through the fastest and most precise ways to rotate your clips.
1. Why You Might Need to Rotate a Video
There are many reasons why editors rotate footage, such as:
- Correcting videos shot in portrait mode by mistake.
- Leveling a horizon in drone or landscape shots.
- Creating stylized rotations for transitions or effects.
- Fixing camera tilt in handheld recordingsb.
By learning how to rotate a video in DaVinci Resolve, you’ll be able to handle all these scenarios with precision.
2. How to Rotate a Video in DaVinci Resolve – Step-by-Step
Follow these simple steps to rotate any video in DaVinci Resolve:
Step 1 – Import Your Footage
- Open DaVinci Resolve.
- Go to the Media Pool and drag your video file into the project.
Step 2 – Place Your Clip on the Timeline
- Switch to the Edit Page.
- Drag your clip from the Media Pool to the timeline.
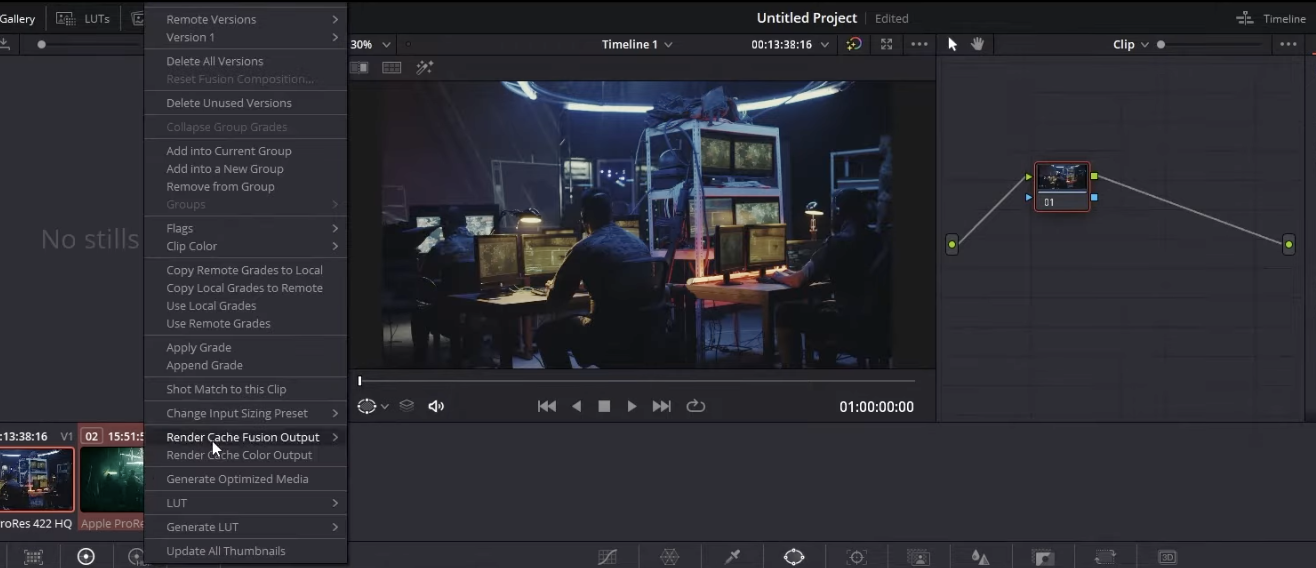
Step 3 – Open the Inspector Panel
- Select the clip on the timeline.
- In the upper right, click Inspector.
- If the Inspector isn’t visible, click View > Inspector from the menu.
Step 4 – Adjust the Rotation Angle
- In the Transform section of the Inspector, locate the Rotation Angle field.
- Enter a value or use the slider to rotate your video.
- 90° or -90° for standard portrait-to-landscape adjustments.
- 180° for upside-down rotation.
- Any custom value for creative tilts.
Step 5 – Scale and Reframe
- After rotation, black bars may appear.
- Use the Zoom control to scale the clip and fill the frame.
Step 6 – Play Back and Export
- Review the result in the preview window.
- Go to the Deliver Page to export your rotated video.
3. Rotating a Video in the Color Page
You can also rotate footage inside the Color Page for shot-specific adjustments:
- Go to the Color Page.
- Select the Transform Controls from the toolbar.
- Adjust the rotation wheel for more visual control.
This method is particularly useful when you are color grading and need to fix alignment on the spot.
4. Best Practices for Rotating Footage in DaVinci Resolve
- Maintain Aspect Ratio – Avoid stretching your footage by locking proportions.
- Use Rotation for Storytelling – A slight tilt can create tension or energy in a scene.
- Avoid Over-Rotation – Extreme angles can feel disorienting unless used for creative effect.
- Check Export Settings – Ensure your final video matches the desired orientation.
If you want to push your creativity even further, you can pair rotation with reverse motion — this guide on how to reverse a clip in DaVinci Resolve shows how to create dynamic rewind effects that work perfectly with rotated footage.
5. Common Mistakes to Avoid
- Forgetting to Zoom After Rotation – This can leave black bars on the edges.
- Rotating Without Stabilizing – If your clip is shaky, stabilize it before rotation.
- Overusing Rotation for Effect – Too much rotation can be distracting for viewers.
For more stylistic options, try combining rotation with mirror effects; this tutorial on how to flip video in DaVinci Resolve will help you create symmetrical or artistic visuals that complement rotated clips beautifully.
Conclusion
Rotating a video in DaVinci Resolve is quick, easy, and can completely transform the look of your footage. Whether you’re correcting an orientation issue or adding creative flair, these steps will help you achieve professional results.
If you want to master DaVinci Resolve from beginner to pro, including techniques like rotation, color grading, audio cleanup, and advanced editing workflows, check out our DaVinci Resolve Course at Miracamp. Learn from industry professionals and take your editing skills to the next level.
FAQ
How do I rotate a video 90 degrees in DaVinci Resolve?
Select the clip, open the Inspector, and set the Rotation Angle to 90 or -90 for the desired direction.
Can I rotate a video in DaVinci Resolve without losing quality?
Yes. DaVinci Resolve’s rotation tools work with non-destructive editing, meaning your original footage remains untouched.
How do I rotate multiple clips at once in DaVinci Resolve?
Select all the clips you want to rotate, open the Inspector, and adjust the Rotation Angle—the change will apply to all selected clips.
Is there a shortcut for rotating clips in DaVinci Resolve?
While there’s no default keybind for rotation, you can assign a custom shortcut in the Keyboard Customization menu.