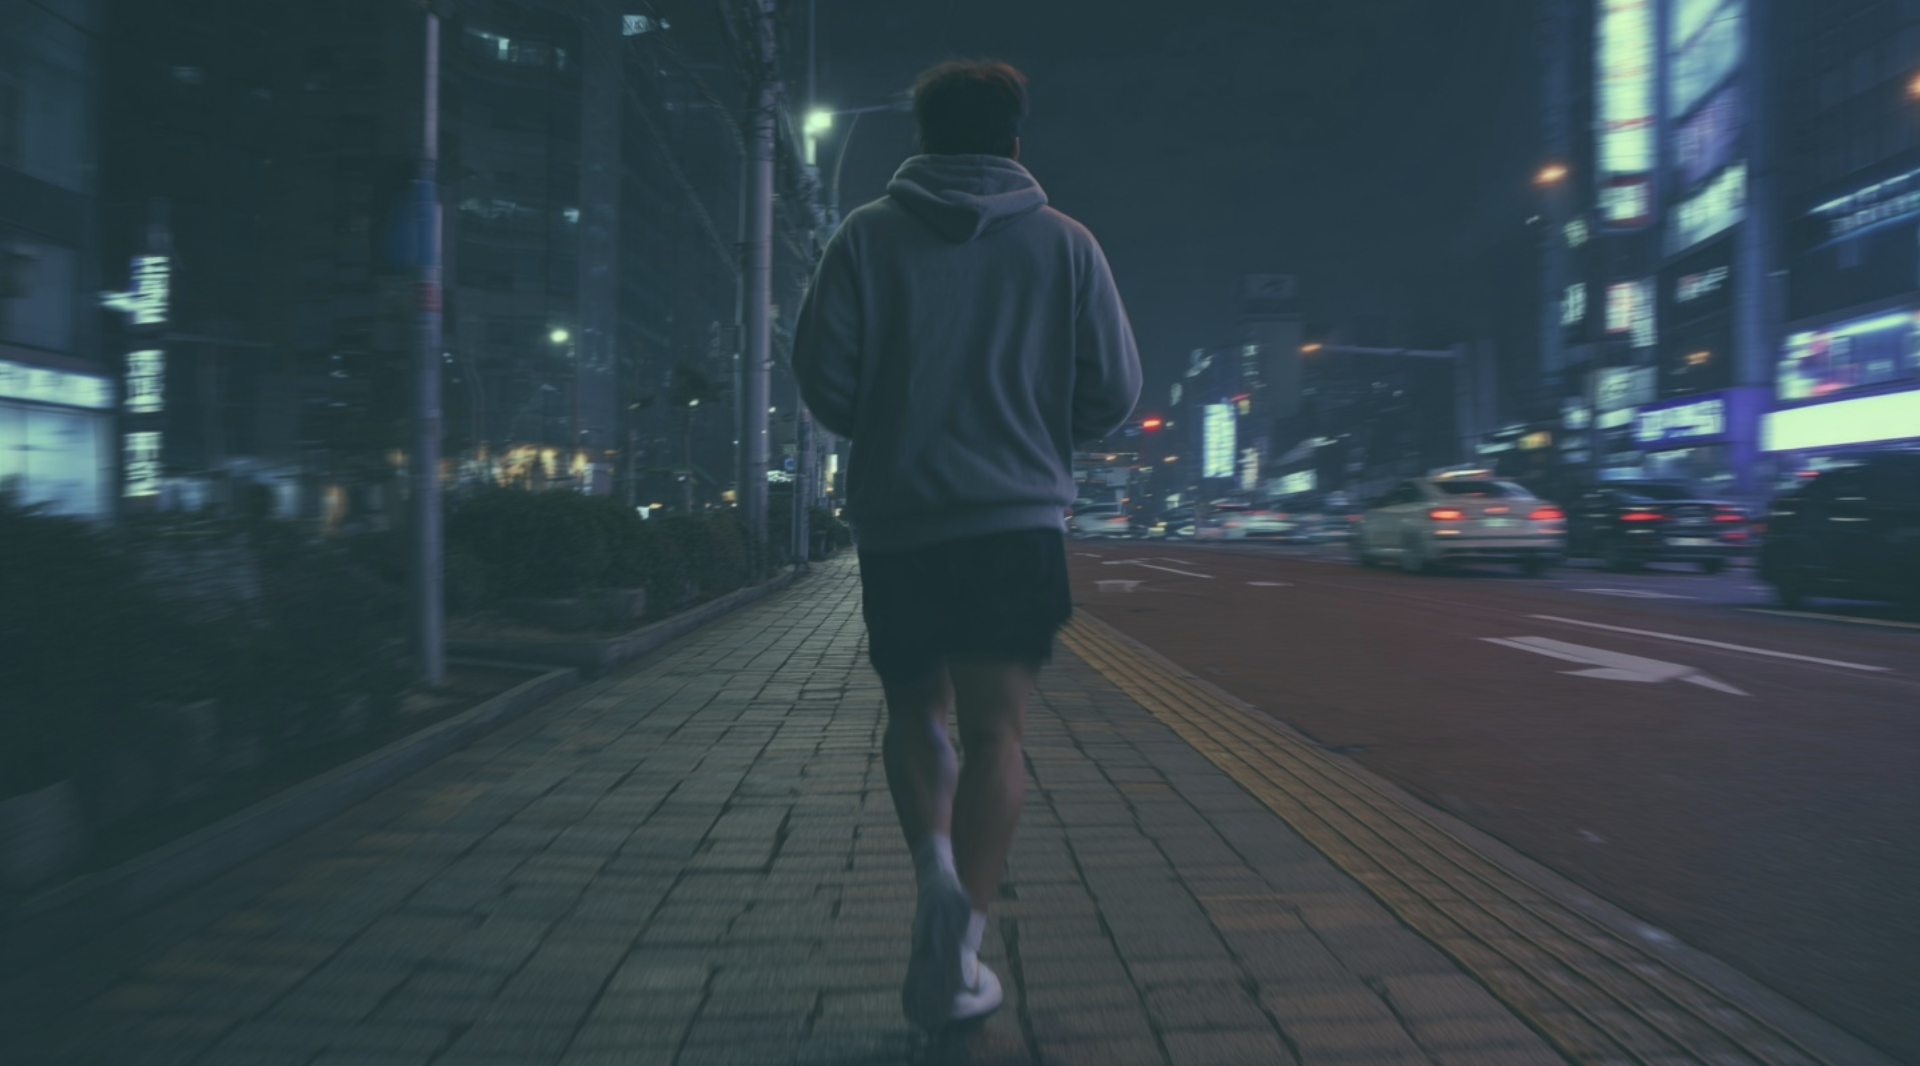
Shaky footage can ruin the flow of your video. With CapCut, you can easily stabilize shaky clips or even add camera shake for creative, high-energy effects.
In this guide, you’ll learn step by step how to stabilize video in CapCut and how to apply camera shake effects to bring your edits to life.
Video Stabilization in CapCut
You can stabilize shaky footage in CapCut by using the built-in Stabilize feature, available on both mobile and desktop.
Why it matters: Stabilization makes handheld clips smoother, saving footage that would otherwise look amateurish.
Step-by-Step: Stabilization on Mobile
- Open CapCut and import your shaky clip.
- Tap the clip in the timeline.
- In the toolbar, find and select Stabilize.
- Choose a stabilization level (Low, Medium, High).
- Preview the result and export when satisfied.
Step-by-Step: Stabilization on Desktop
- Import your footage into CapCut PC.
- Select the clip in the timeline.
- In the right panel, scroll down to Stabilize.
- Enable it and adjust strength with the slider.
- Preview and fine-tune until your clip looks smooth.
Best Practices for Stabilization
- Stabilize after trimming the clip to avoid long render times.
- Use Medium or High only when shake is strong; Low keeps footage natural.
- Be mindful of cropping—CapCut zooms in slightly when stabilizing.
Troubleshooting Stabilization
- Too much crop: Lower the stabilization level.
- Laggy preview: Lower playback quality or stabilize shorter clips.
- Over-smooth effect: Switch to Low for a natural handheld feel.
If your footage still looks jittery after stabilization, see our complete tutorial on removing the grimace shake in CapCut for more targeted fixes.
Camera Shake in CapCut
You can add camera shake in CapCut with the built-in effects library.
Why it matters: While stabilization removes unwanted shake, adding controlled camera shake can enhance storytelling, energy, or drama.
Step-by-Step: Adding Camera Shake
- Import your clip and place it in the timeline.
- Go to Effects > Basic Effects (on mobile) or Effects Library (desktop).
- Search for Camera Shake and apply it to your clip.
- In the settings panel, adjust:
- Intensity – strength of the shake.
- Frequency/Speed – how fast it shakes.
- Direction – horizontal, vertical, or random.
- Preview and tweak for balance.
Creative Uses of Camera Shake
- Action scenes → add realism to fights or chase sequences.
- Music videos → boost energy with rhythmic shakes.
- Vlogs → mimic handheld, documentary-style footage.
- Transitions → use subtle shake to add punch to cuts.
For even more dynamic effects, you can combine camera shake with rewind transitions. Learn how with our step-by-step guide on reversing a video in CapCut.
Best Practices for Camera Shake
- Keep it subtle to avoid nausea or distraction.
- Combine with motion blur for a natural cinematic feel.
- Use it sparingly—only in moments that benefit from extra energy.
Conclusion: Smooth or Shake, CapCut Delivers
CapCut makes it simple to stabilize shaky footage or add dynamic camera shake—all in a few taps. Whether you need professional polish or creative intensity, these tools put cinematic control at your fingertips.
If you want to go beyond basics and unlock CapCut’s full potential, check out the CapCut Course by Miracamp. With expert coaching, guided projects, and certification, it’s the best way to become a pro-level CapCut editor.
FAQ Video Stabilization & Camera Shake in CapCut
How do I stabilize shaky video in CapCut?
Select your clip, go to Stabilize, choose Low/Medium/High, and let CapCut smooth your footage.
Does stabilization crop my video?
Yes. CapCut zooms in slightly to stabilize movement. Adjust strength to reduce cropping.
How do I add camera shake in CapCut?
Apply the Camera Shake effect from the effects library, then adjust intensity and speed.
Can I combine stabilization and camera shake?
Yes. First stabilize to remove unwanted shake, then add a controlled shake effect for style.
Is video stabilization free in CapCut?
Yes. Stabilization and shake effects are included in CapCut’s free features.