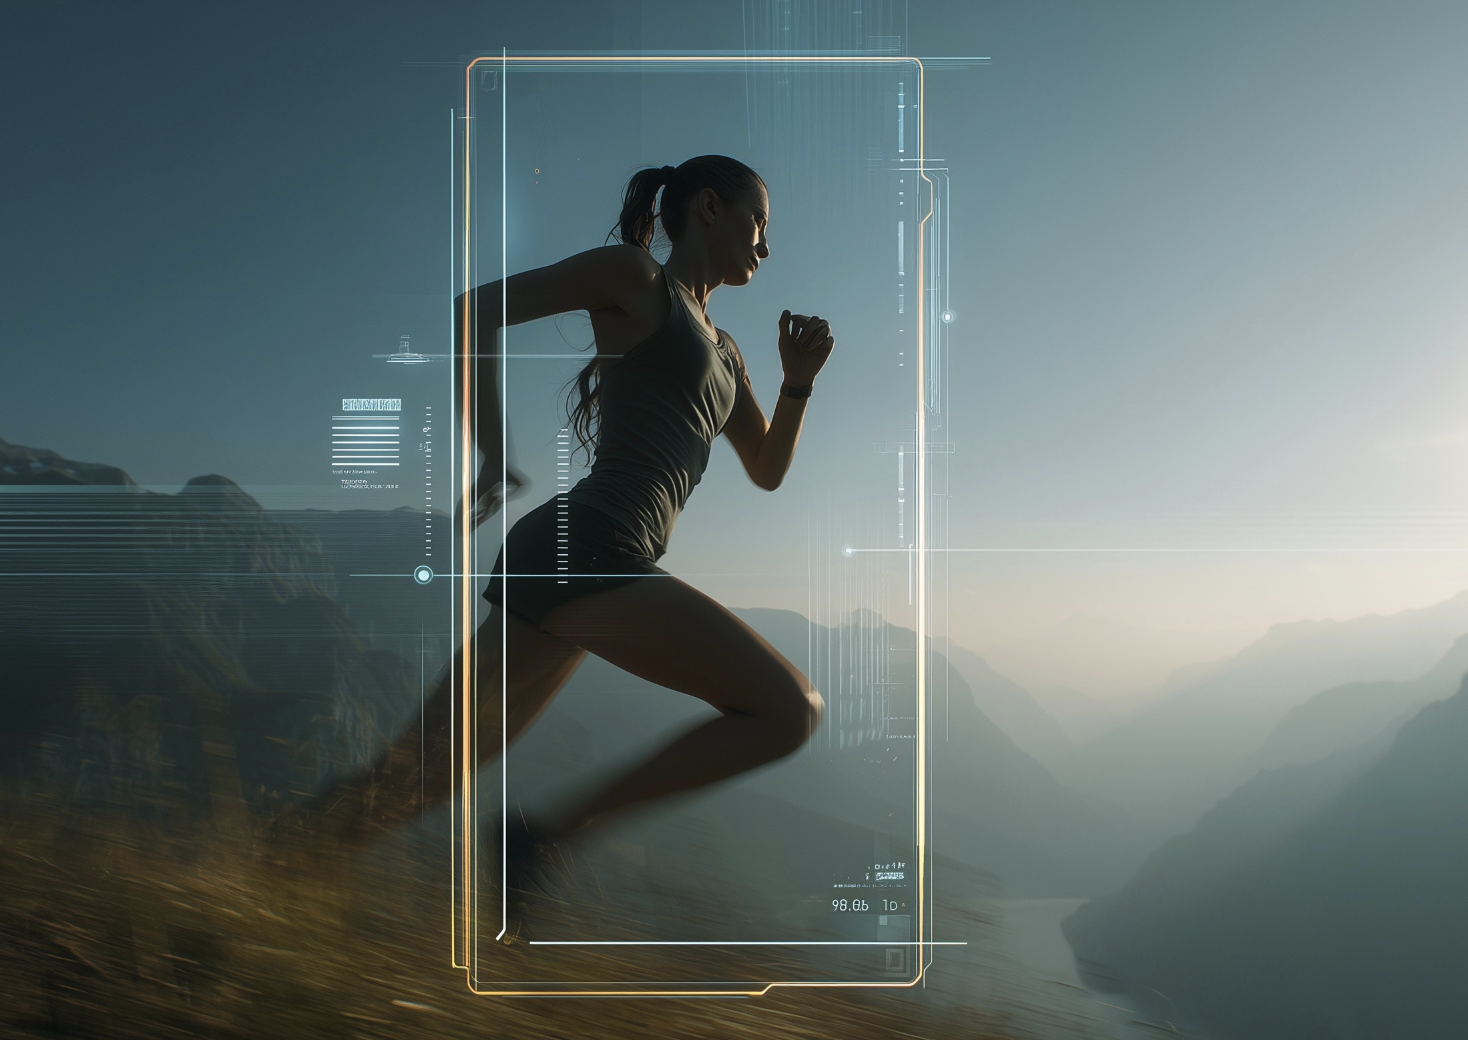
Motion tracking in video editing is a game-changer. Whether you’re adding stickers that follow a moving subject, blurring a face for privacy, or attaching captions and effects to an object, motion tracking allows you to create dynamic, professional visuals.
CapCut makes motion tracking simple with built-in tools, and in this guide you’ll learn what it is, how to use it, and why it’s essential for modern creators.
If you’re new to CapCut and want a full beginner-to-advanced foundation, check out our complete CapCut beginner’s guide before diving deeper into motion tracking.
How to Do Motion Tracking in CapCut (Mobile)
Step 1: Import Your Footage
Open CapCut and tap New Project. Select the video you want to edit.
Step 2: Select Motion Tracking
Tap the clip in the timeline, then choose Track from the bottom menu.
Step 3: Place the Tracking Box
Resize and position the box around the object you want to follow.
Step 4: Start Tracking
Tap Start Tracking. CapCut automatically follows the object throughout the clip.
Step 5: Add Your Element
Insert text, stickers, emojis, or a blur effect.
Step 6: Adjust and Export
Check the preview and fine-tune the tracking if needed before exporting.
How to Do Motion Tracking in CapCut (Desktop)
Step 1: Open CapCut PC and drag your video to the timeline.
Step 2: Select the Clip and in the right-hand menu click Tracking.
Step 3: Define the Tracking Area by adjusting the box over the moving subject.
Step 4: Start the Analysis and let CapCut follow the object’s motion.
Step 5: Add Overlays such as text, logos, or images.
Step 6: Export Your Video in HD or 4K resolution.
Creative Uses of Motion Tracking in CapCut
- Dynamic Captions: Subtitles or text that follow a dancer or athlete.
- Privacy Blurs: Blur faces or sensitive details in street vlogs.
- Branding: Add logos that move with a product.
- Social Stickers: Emojis or arrows that follow movement to grab attention.
- Engagement Boosters: Sparkles or effects that track movement in TikTok or Reels.
Want to boost visual style even further? Pair your motion-tracked clips with cinematic colors using our full CapCut LUTs guide.
Best Practices for Smooth Motion Tracking
- Use shorter clips for more accurate tracking.
- Keep the tracking box small and close to the object.
- Stabilize footage first if it’s shaky.
- Split long clips into sections if tracking slips.
- Combine automatic tracking with manual adjustments when needed.
Troubleshooting Motion Tracking in CapCut
- Object Lost During Tracking: Reposition the box and re-run tracking.
- Tracking Not Accurate: Split the clip and track in smaller parts.
- Blur Doesn’t Follow Well: Keep the tracking box tighter to the subject.
- Lag During Editing: Lower preview resolution for smoother playback.
Conclusion: Elevate Your Social Edits with Motion Tracking
Motion tracking in CapCut allows you to anchor stickers, text, and effects to moving objects with ease, giving your videos a professional finish in minutes.
Why it matters: For social media creators, this feature transforms simple clips into engaging, dynamic content that stands out on TikTok, Instagram, and YouTube.
If you want to take your edits even further, try CapCut’s AI tools — you can even generate full videos automatically using the CapCut AI Video Generator.
If you want to go further and master advanced CapCut editing, check out the CapCut Course by Miracamp. With guided lessons, expert coaching, and a recognized certificate, it’s the fastest way to go from casual edits to professional-quality content.
FAQ Motion Track in CapCut
What is motion tracking used for in CapCut?
Motion tracking is used to attach stickers, text, blurs, or logos to a moving object so they follow it naturally—perfect for dynamic social edits.
Does CapCut have motion tracking?
Yes, CapCut offers built-in motion tracking on both mobile and desktop, with simple controls to track moving subjects.
How do I blur a moving object in CapCut?
Apply the Blur or Mosaic effect, set the tracking box over the object, and use Start Tracking to automatically follow the motion.
Is motion tracking free in CapCut?
Yes, motion tracking is part of CapCut’s free features. You can track and export without paying.