In this guide, you’ll learn exactly how to grab a frame (aka screenshot or still) from your timeline or viewer, save it in high resolution, and even export it in multiple formats in DaVinci Resolve.
What Is a Frame Grab or Screenshot in Resolve?
A frame grab (or screenshot) is a single frame exported as an image file from your video project. In DaVinci Resolve, it’s called a still and is usually done from the Color Page, but you can also grab screenshots directly from the Edit Page or Media Page.
Use cases include:
- Creating YouTube thumbnails
- Making a reference frame for color matching
- Preparing client preview images
- Designing storyboards or scripts
- Extracting social media graphics from your video
For ultra-precise framing when grabbing stills, make sure you know exactly where your playhead is on the timeline — this how to view timecode – a complete step-by-step guide shows you how to read and use timecode in DaVinci Resolve like a pro.
How to Screenshot a Clip from the Edit Page (Quickest Method)
Step-by-step:
- Go to the Edit Page
- Move the Playhead to the exact frame you want to screenshot
- In the top right preview window (called the Viewer), click the camera icon
- A dialog box will appear — choose your filename, location, and format (e.g. JPEG, PNG, TIFF)
- Click Save
✅ Done! You now have a high-resolution screenshot of your video frame.
Method 2: Take a Still in the Color Page (For Color Matching or Exports)
This method is best if you're grading and want to save the exact look of a frame.
Step-by-step:
- Go to the Color Page
- In the timeline at the bottom, select the clip and move the playhead to the desired frame
- Right-click on the Viewer → choose Grab Still
- The still will be saved in the Gallery (top left)
- To export it:
- Right-click on the still in the Gallery
- Choose Export
- Select file type, resolution, and destination
🎨 These stills preserve the grading look (LUTs, nodes, contrast, etc.) and are used to copy grades across clips too.
⚙️ File Formats & Image Settings
When exporting, you can usually choose between:
💡 Tip: Use PNG for transparency (e.g. for title cards or overlays).
How to Change the Save Location of Screenshots
By default, Resolve will save screenshots to your last used directory. To customize:
- Go to DaVinci Resolve > Preferences > System > Media Storage
- Set a default export folder
- Or use the Browse option each time you export a still
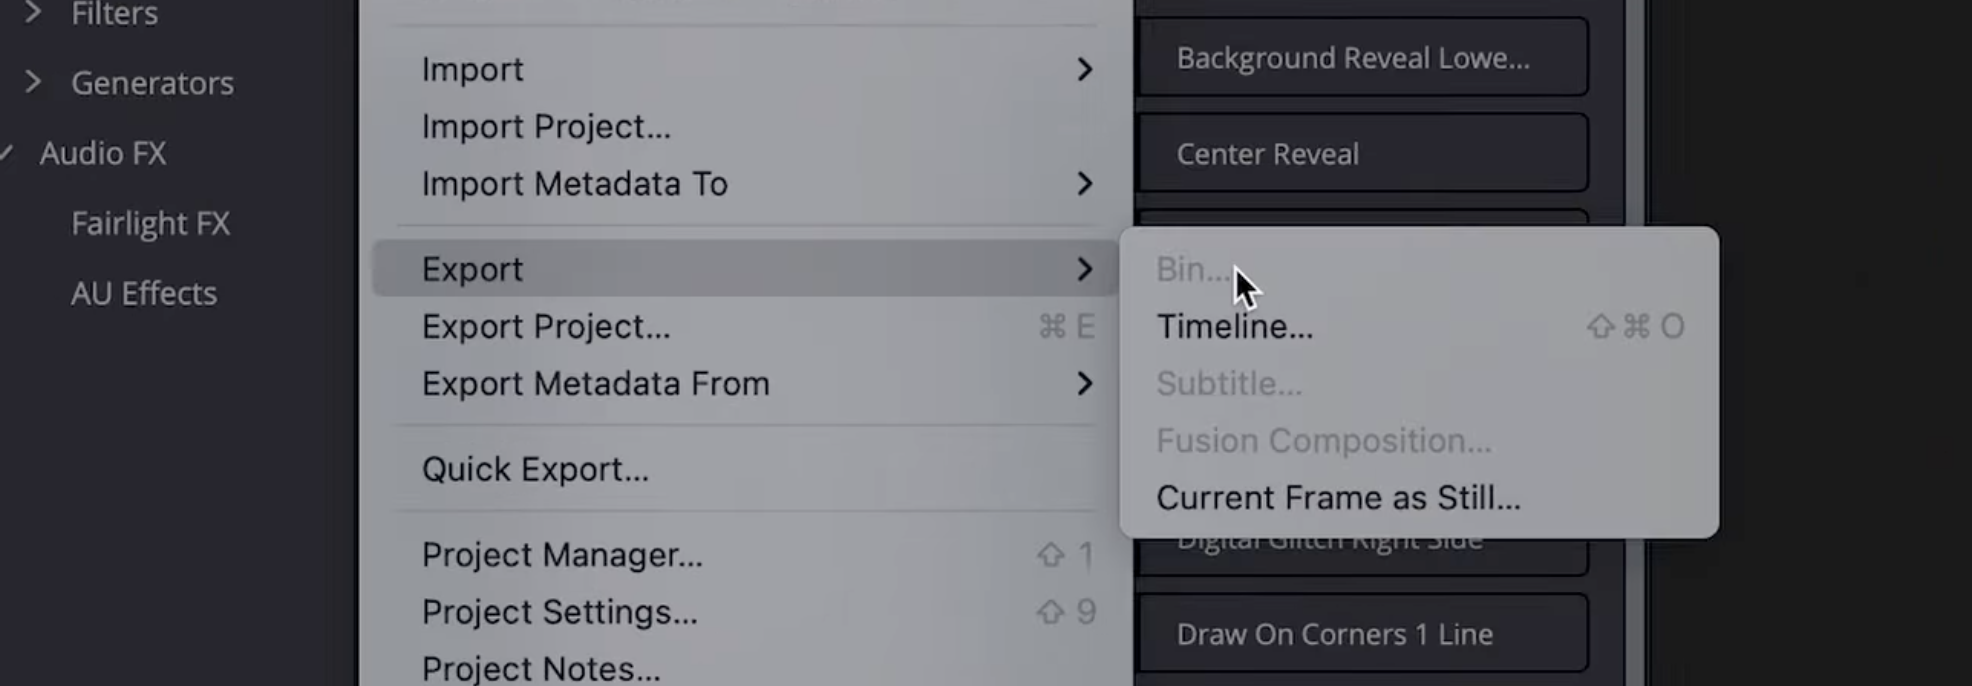
Bonus: Exporting a Series of Frames (Image Sequence)
Want to export several stills or even an entire scene frame-by-frame?
- Select the clip in the Deliver Page
- Under Format, choose TIFF Sequence, DPX, or PNG Sequence
- Set the In and Out points
- Click Add to Render Queue → then Start Render
🧠 Great for motion graphics, time-lapse stills, or stylized animation work.
And if you’re preparing a batch of stills or want to quickly adjust clips before grabbing screenshots, this tutorial on how to select all to the right of the cursor will help you speed up your timeline editing workflow.
Want to Master DaVinci Resolve?
Learning how to screenshot is just the beginning. At Miracamp, we help creators like you unlock Resolve's full power—from editing and color grading to audio sync and Fusion effects.
🎓 Check out our DaVinci Resolve Course today.
FAQ DaVinci Resolve Frame Grabs & Screenshots
Where is the screenshot saved?
If you used the camera icon on the Edit Page, it’ll ask you to select a folder manually. If you used the Color Page > Grab Still, it's stored in the Gallery until exported.
Can I take a screenshot without rendering?
Yes, screenshots don’t require rendering and can be done instantly in the Edit or Color page.
Are the screenshots full resolution?
Yes—DaVinci Resolve exports the frame at the timeline resolution (e.g., 1920x1080, 4K, etc.).
Can I screenshot from Fusion?
Fusion doesn’t have a direct screenshot button, but you can pause the playhead, use Grab Still via the Color Page, or set up a Render Node to export a single frame.
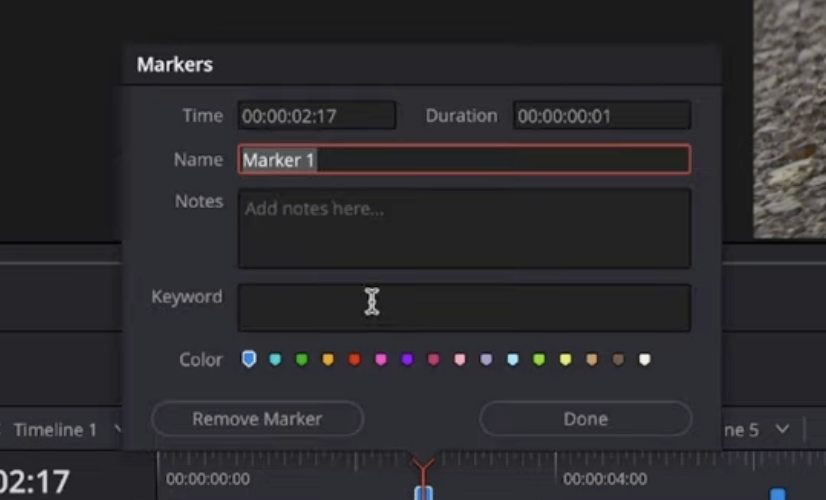
Can I add annotations or graphics to the screenshot?
Yes. Add overlays (text, arrows, icons) in the timeline, then grab the screenshot to include them.