
Removing backgrounds in Premiere Pro can seem intimidating, but with the right approach and tools, you can achieve clean, professional results—even without After Effects. In this guide, you’ll learn everything you need to know about removing backgrounds in Adobe Premiere Pro, including practical methods, pro tips, troubleshooting, and best practices for seamless video compositing.
Understanding the Basics: What You Need to Know
Before you dive in, preparing your footage is key for smooth background removal:
- Use Clean, Solid Backgrounds: Ideally, shoot against a plain color (like a green screen or solid wall) with even lighting. The less variation in color and contrast, the easier the keying process.
- Minimize Shadows & Reflections: These can complicate the removal, especially when the background color appears in the subject.
- Choose Contrasting Colors: Your background color should be as different as possible from anything in your subject (for example, avoid a blue shirt on a blue background).
Remove Background: Video Tutorial
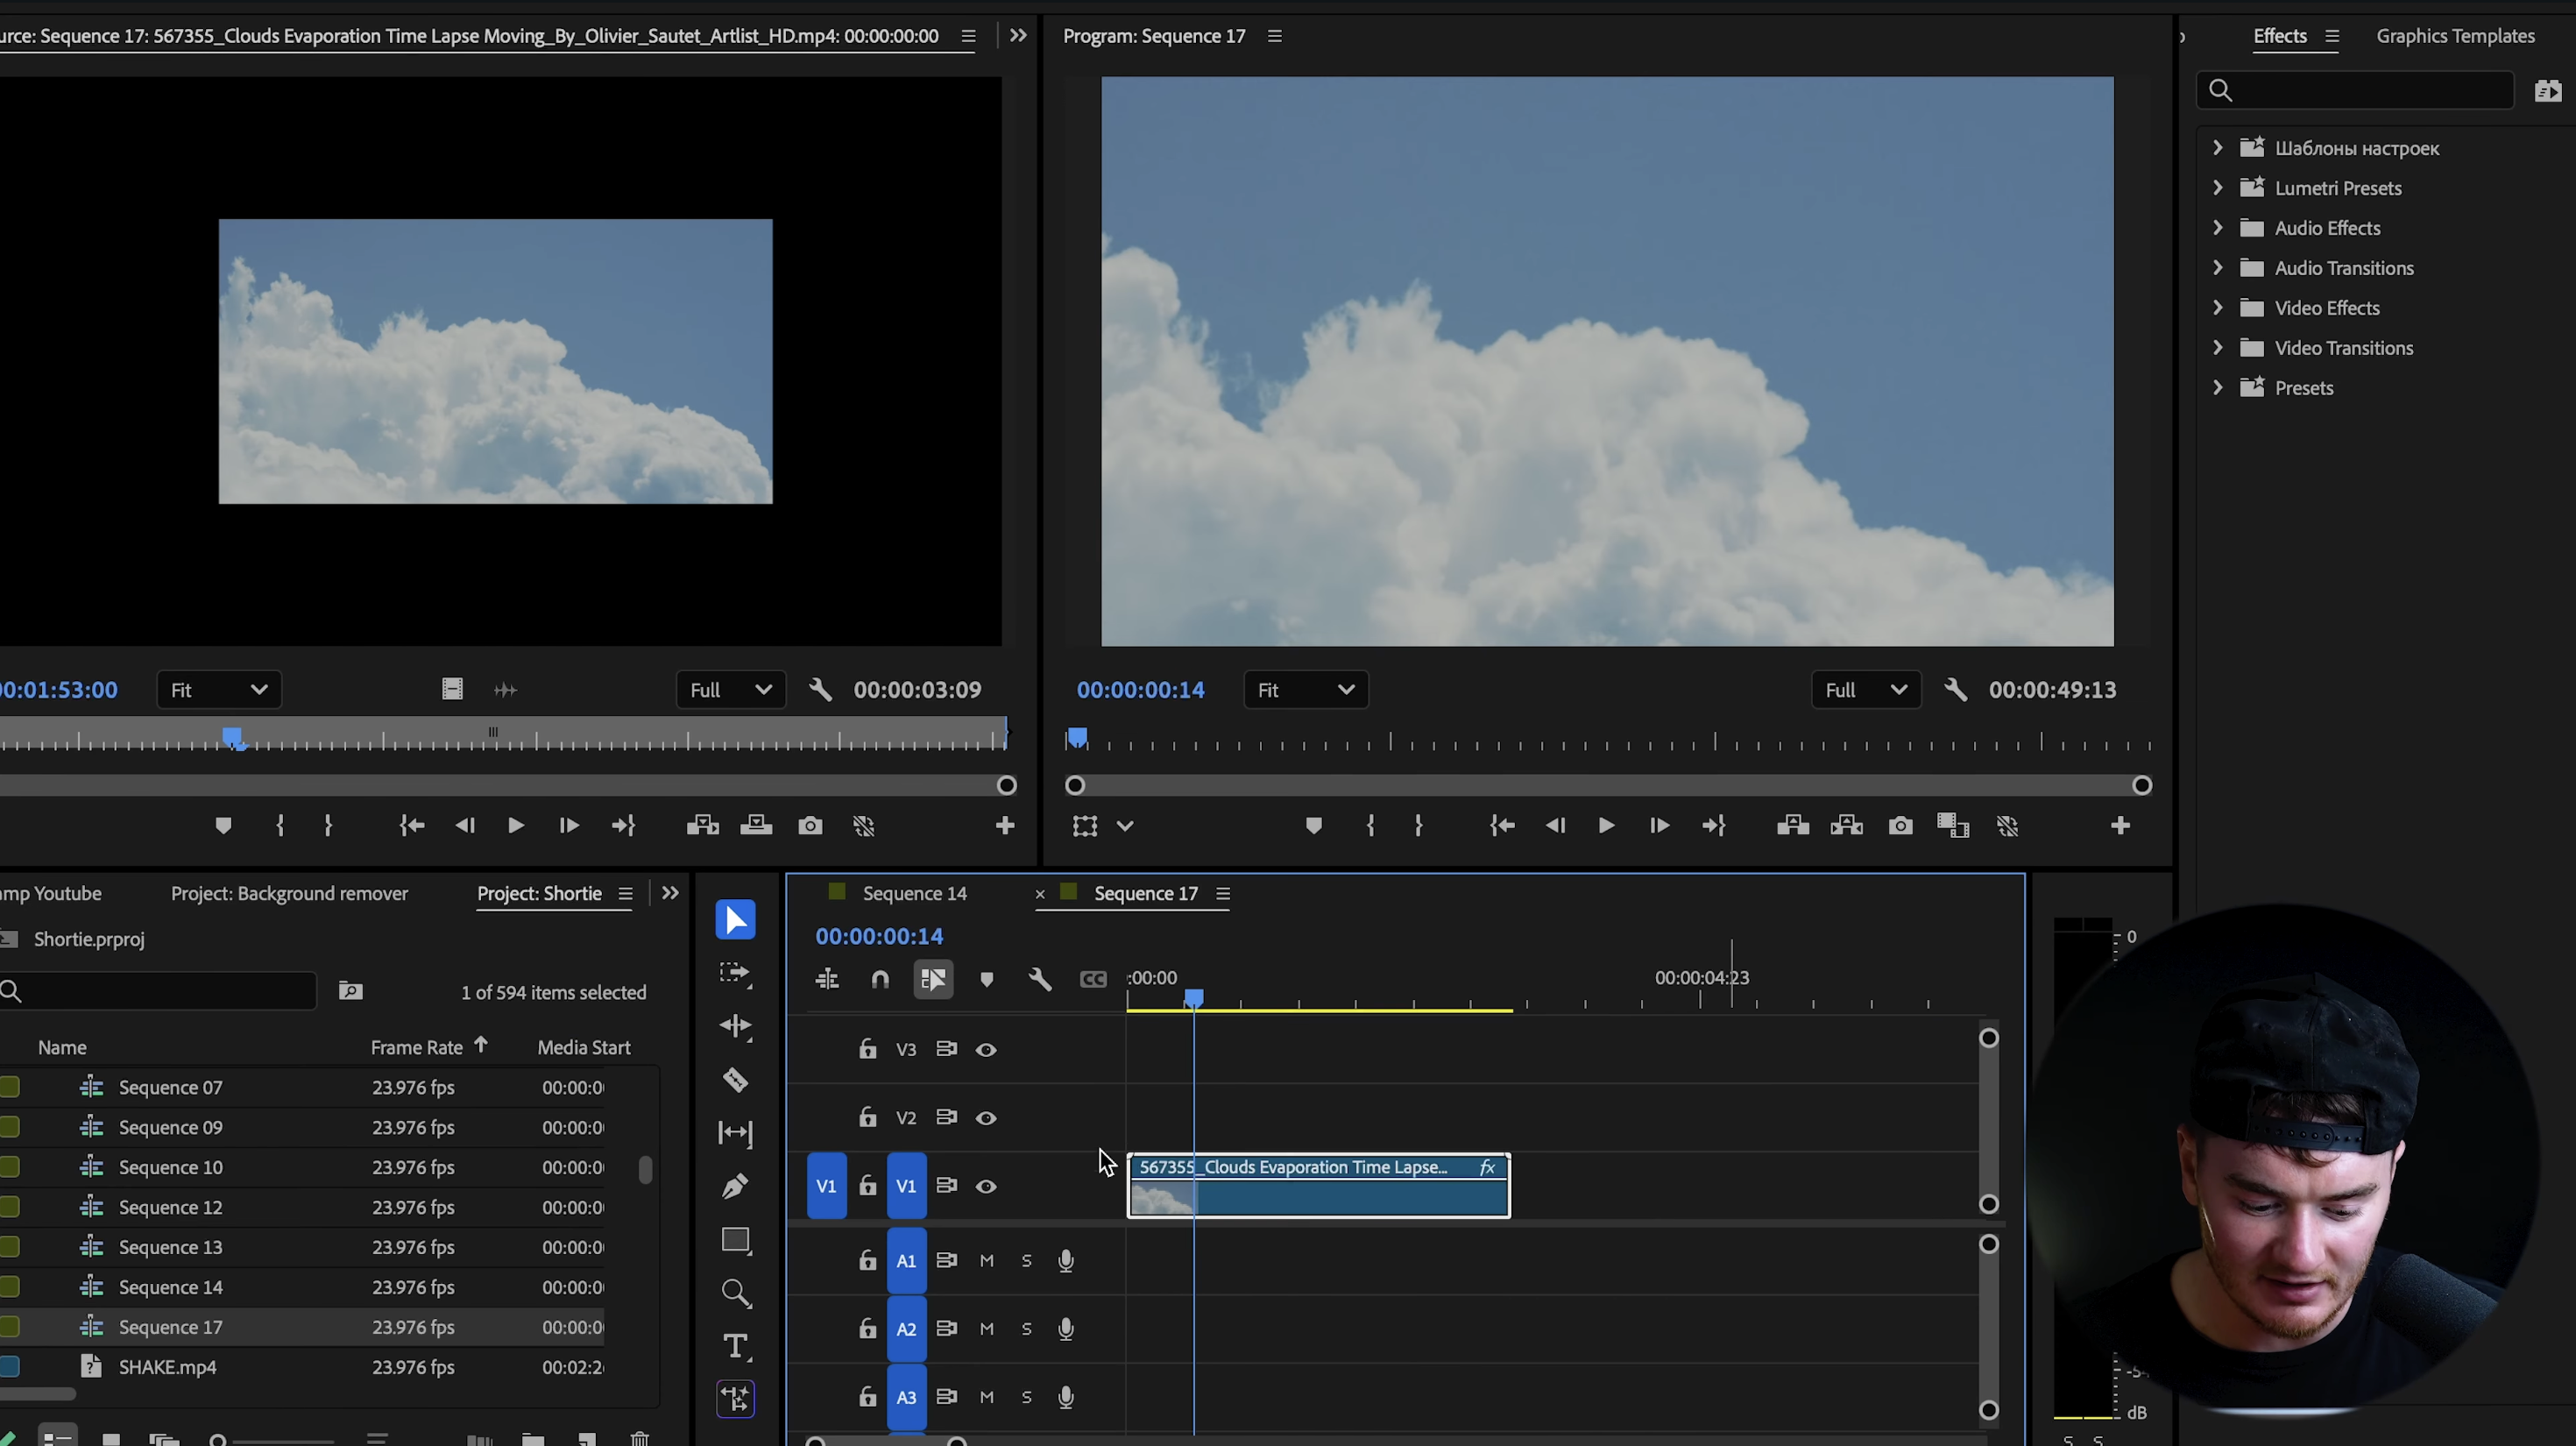
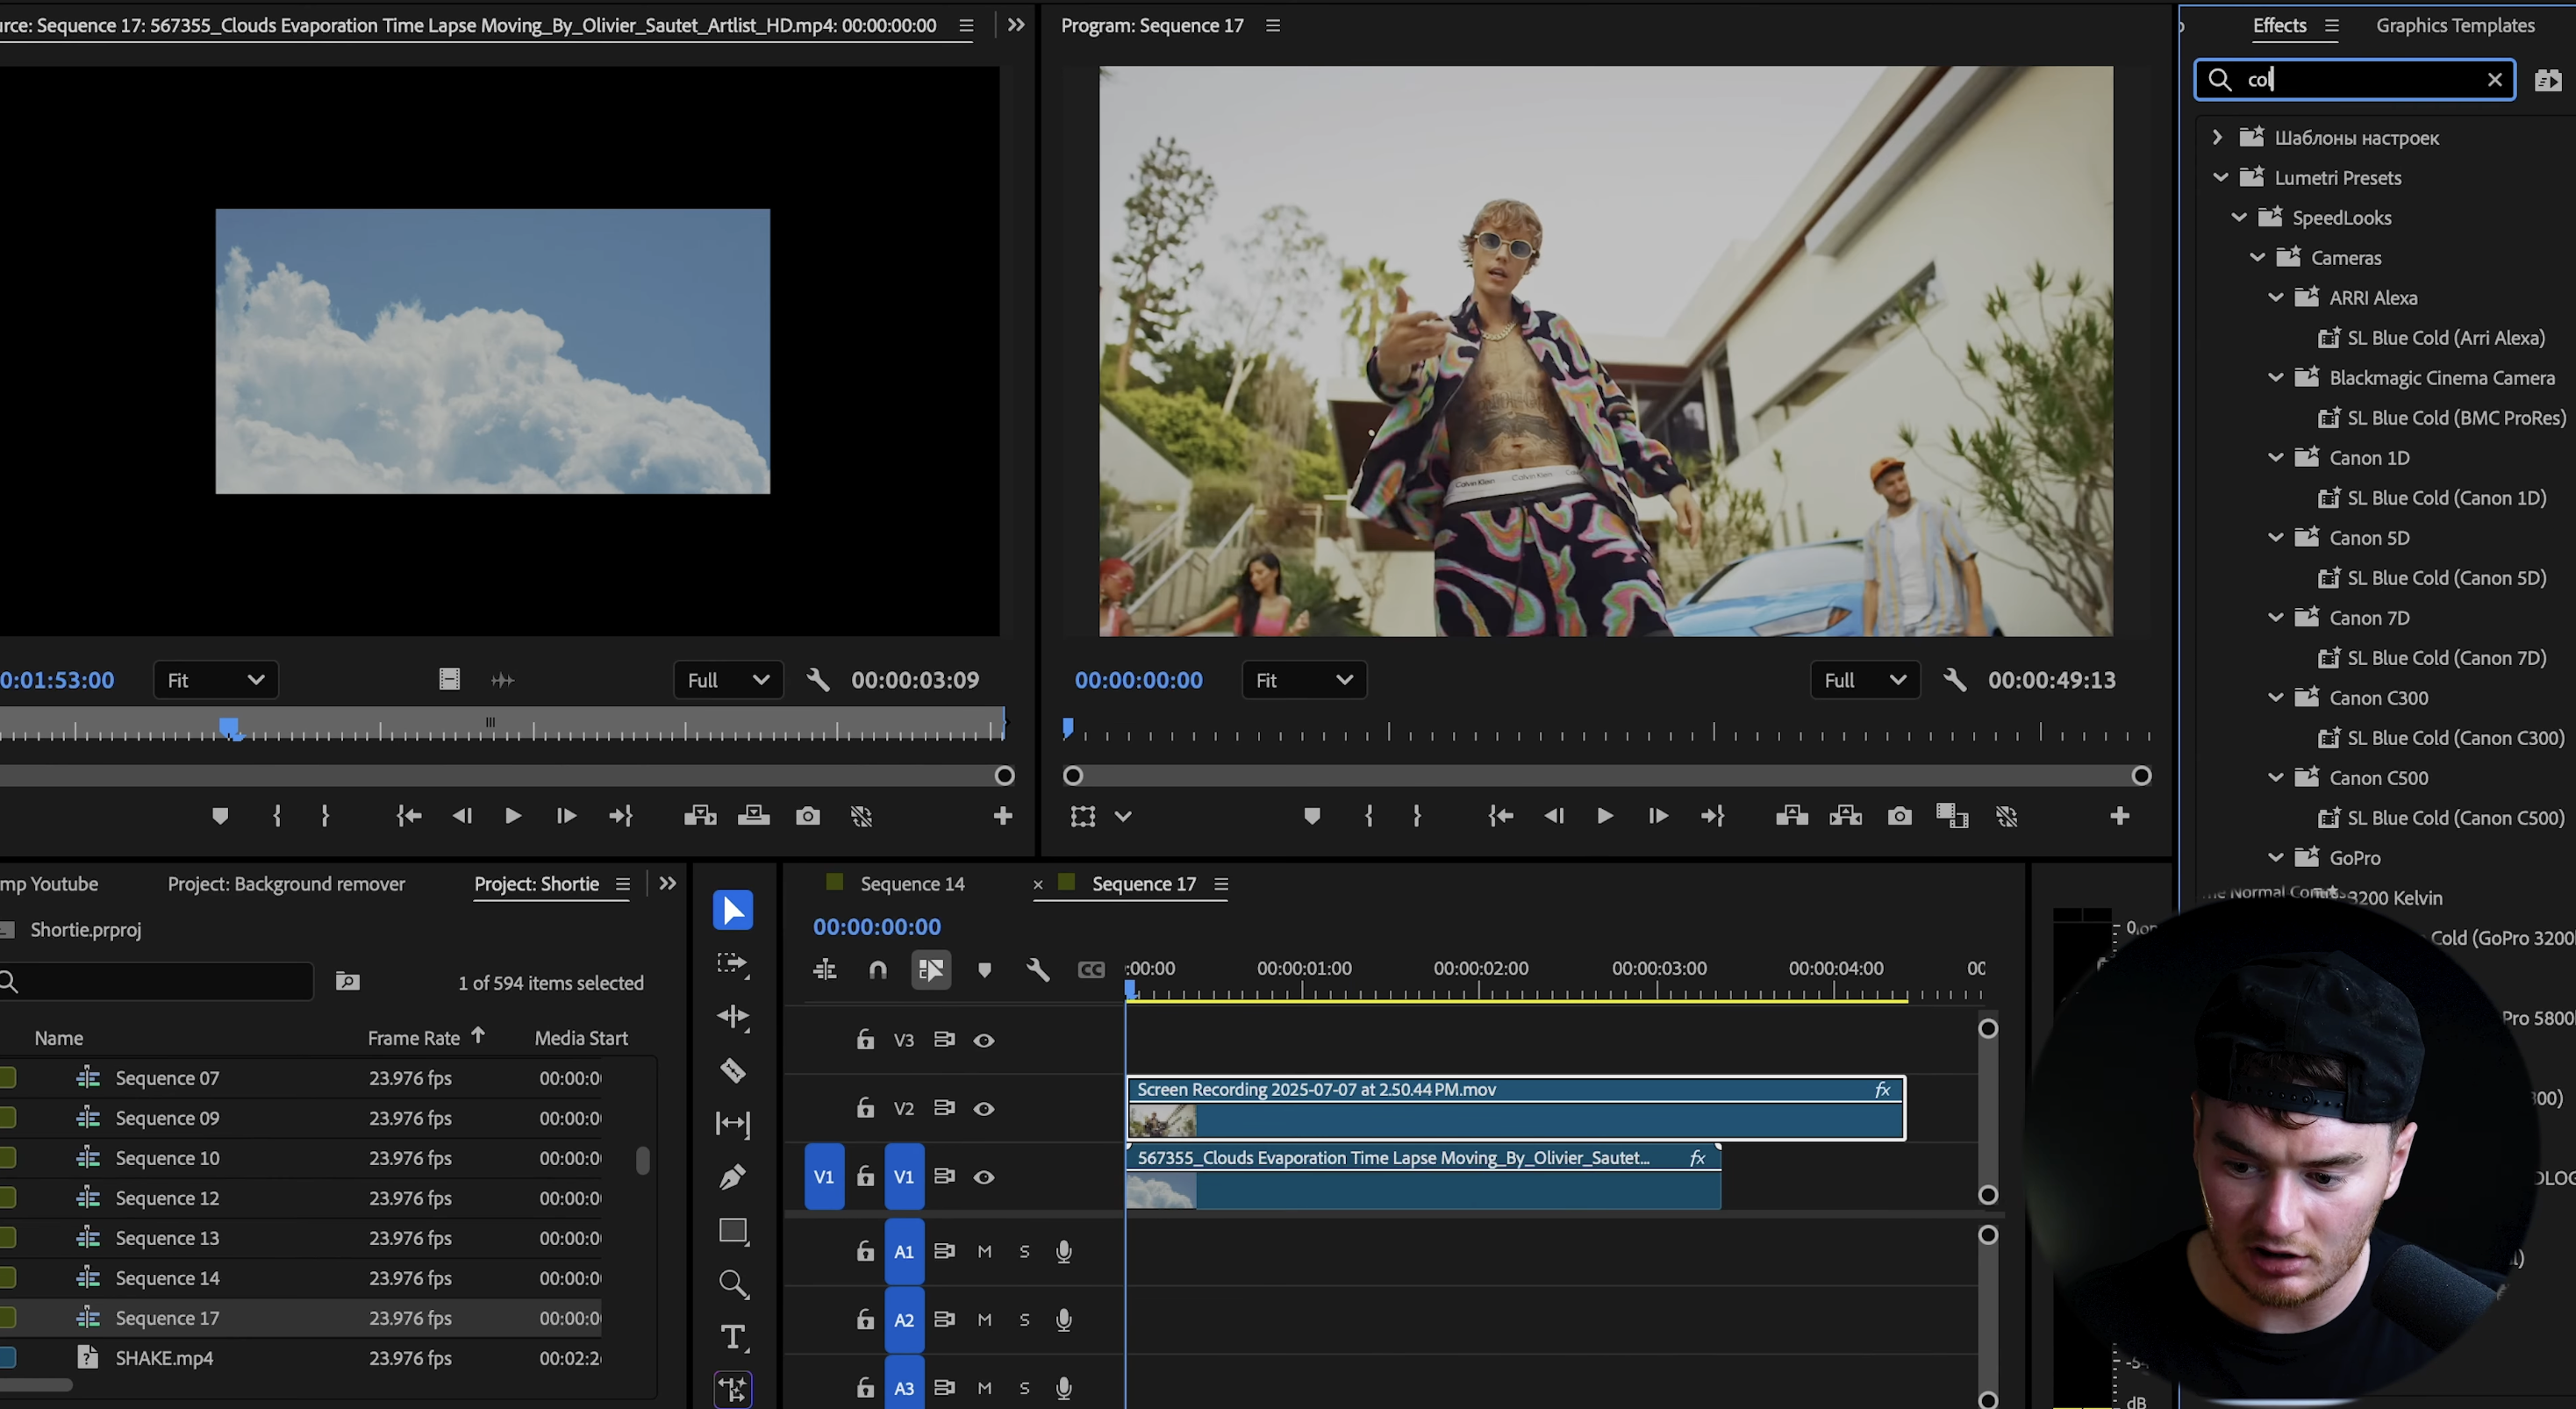
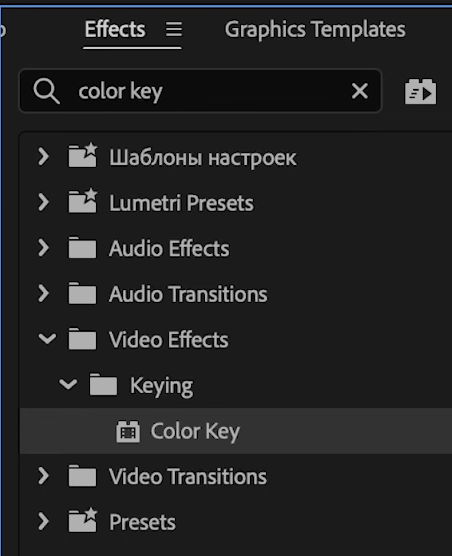
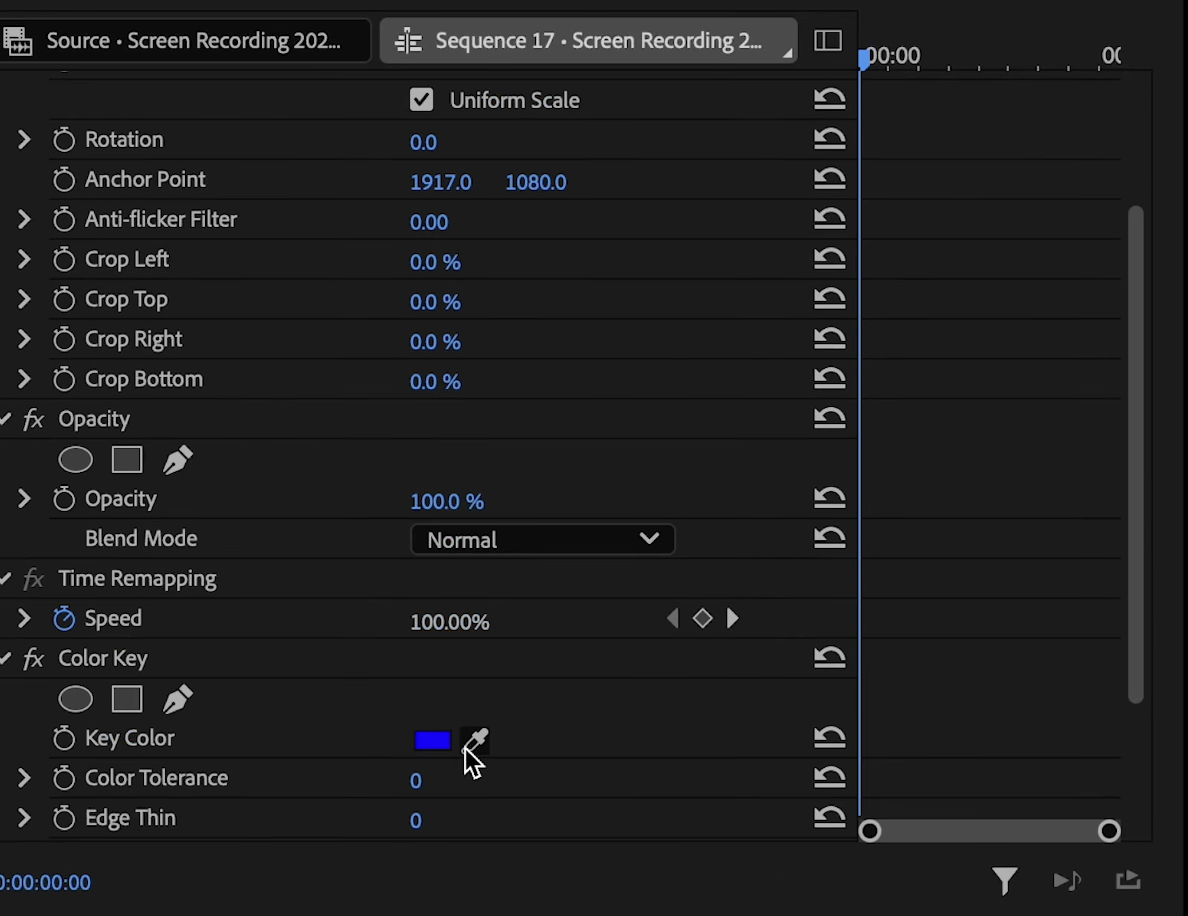
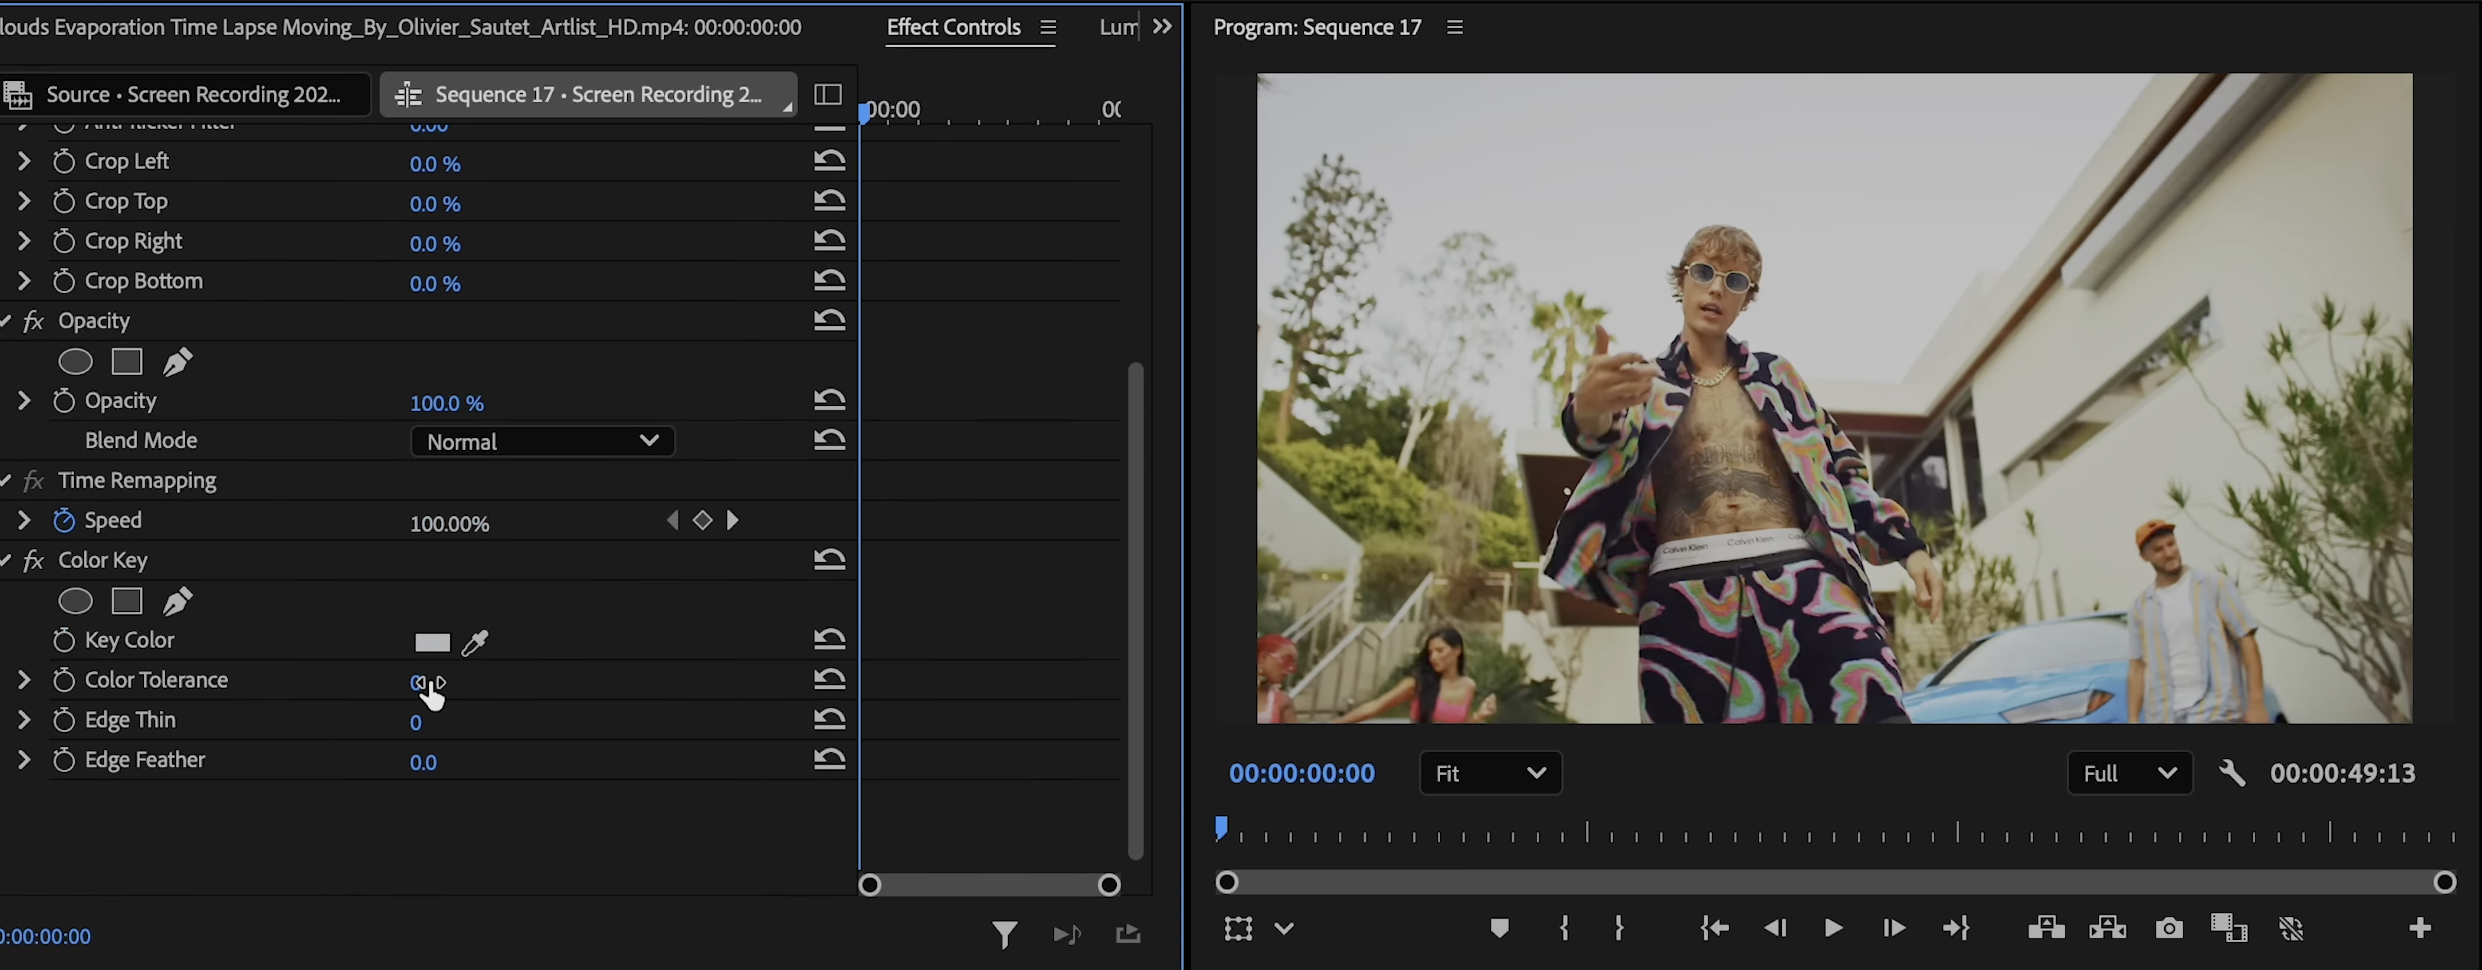
Method 1: Using the Color Key Effect in Premiere Pro
The Color Key effect is perfect for quick background removal when your background is a solid, uniform color.
Step-by-Step: Removing Background with Color Key
Pro Tip:
If parts of the background remain, add the Color Key effect again to the same clip. Use the eyedropper to select remaining areas and adjust the tolerance. Stacking multiple Color Key effects helps target tricky sections without affecting your subject.
Limitations of Color Key
If your background contains colors similar to your subject (like blue sky and a blue shirt), the effect may remove part of your subject. High contrast, shadows, and reflections can leave unwanted artifacts. The Color Key effect works best with basic backgrounds and is less effective for complex scenes.
To enhance your keyed footage further, you can also explore how to add effects in Premiere Pro for cleaner and more creative results.
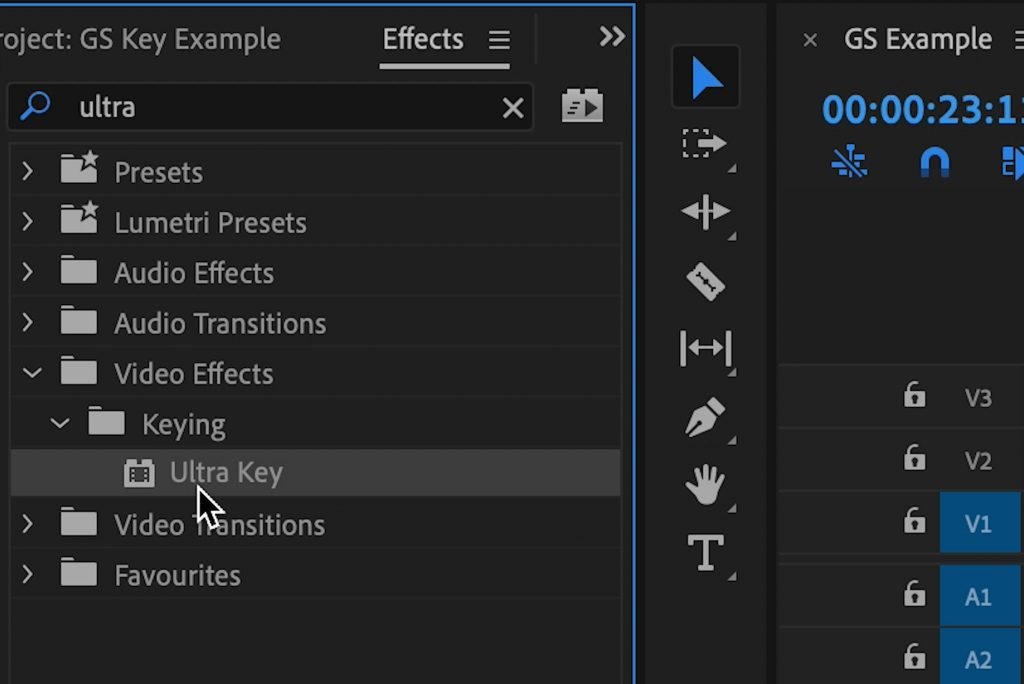
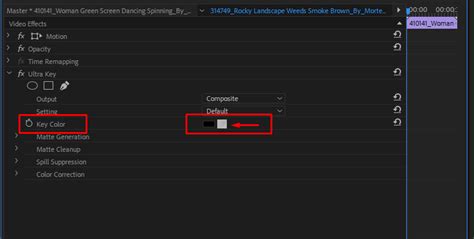
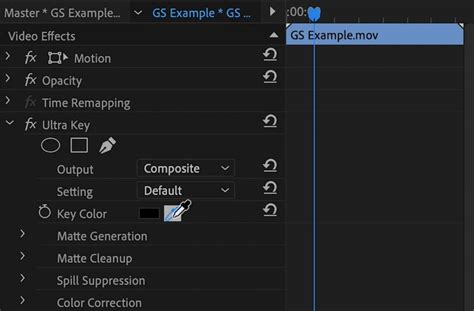
Method 2: Using the Ultra Key Effect for Advanced Keying
For more challenging backgrounds, Ultra Key provides extra power and flexibility.
Step-by-Step: Ultra Key with Masks
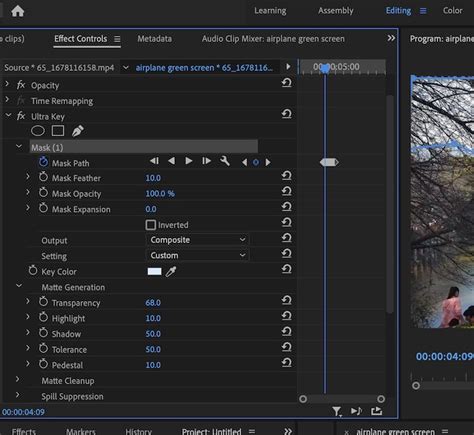
Common Ultra Key Issues and Solutions
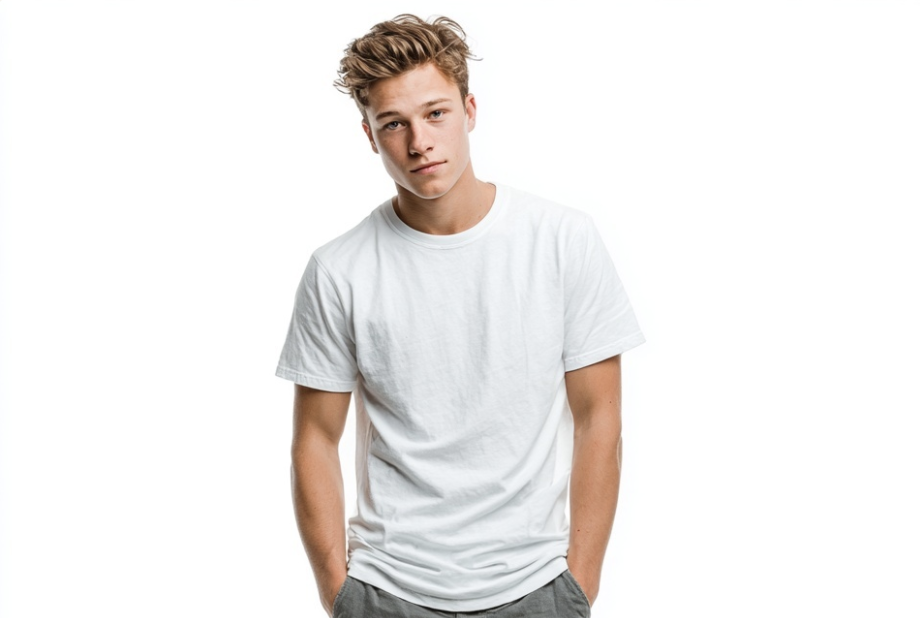
- Subject Disappearing: If your subject contains the background color (like a white shirt on a white background), use a mask to protect those areas.
- Edges Look Rough: Increase the “Feather” slider in the mask to soften harsh edges for a natural look.
- Color Spills or Artifacts: Play with Choke, Soften, and Tolerance settings until the background is gone but your subject remains crisp.
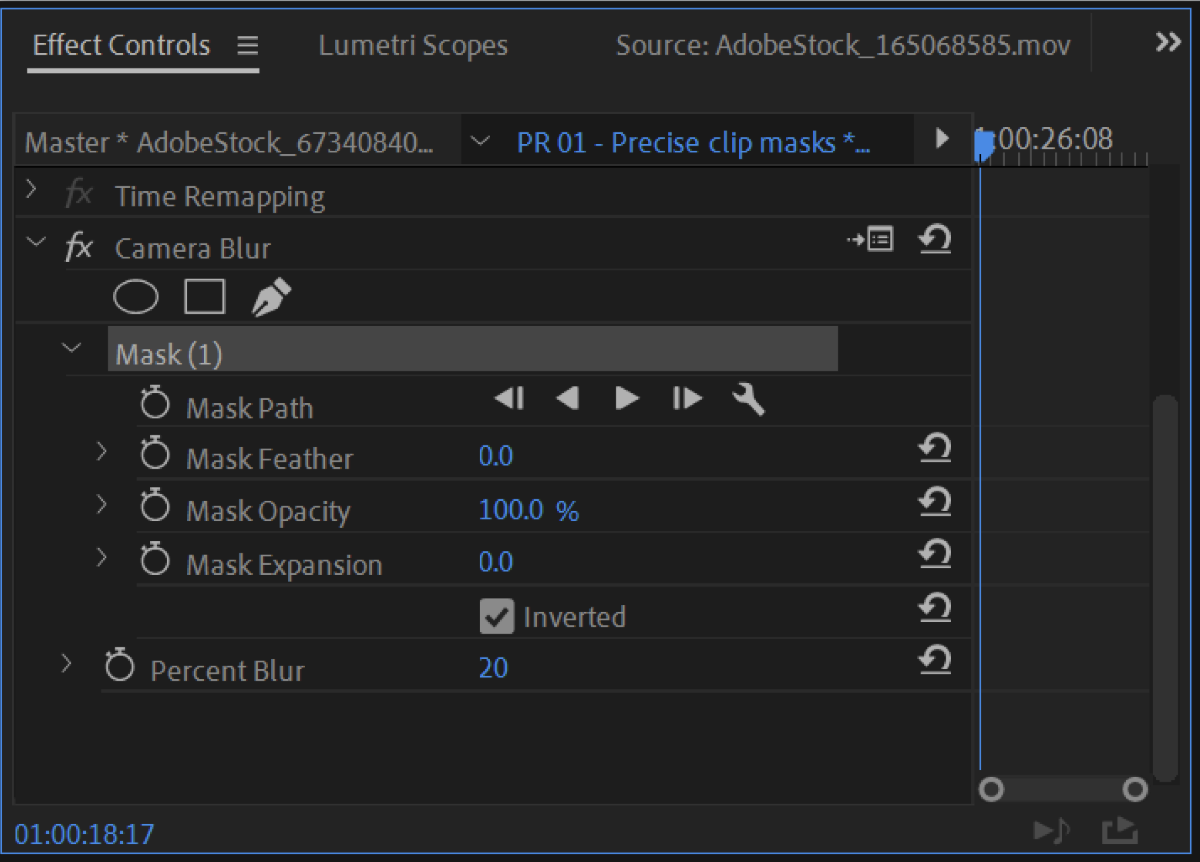
Working with Complex Backgrounds: Masking Techniques
Sometimes, backgrounds are complex or have mixed lighting. Here’s how to get the cleanest results:
- Draw a Custom Mask: In the Color Key or Ultra Key effect, use the Pen tool to draw around the area you want to affect.
- Adjust Mask Feathering: Increase feathering to blend edges and avoid sharp, unnatural cutouts.
- Target Only Problem Areas: Apply the keying effect and mask only where necessary, protecting important parts of your subject.
For example, when replacing a nighttime sky with a moon, draw a mask only around the sky area. Adjust feathering until the new background blends seamlessly with the foreground.
For shots that require isolating only part of the frame, you can combine masking with techniques like cropping videos in Premiere Pro.
Blending Your New Background for a Realistic Look
Even after keying, your new background may look off. To blend everything:
Color Grade Both Layers
- Match the Color Tone: Select your background layer, open Lumetri Color, and adjust exposure, temperature, tint, and shadows so it matches your foreground footage.
- Adjust the Foreground: Make subtle changes to the top layer (subject) to ensure color consistency.
- Add Grain or Noise: If your new background is much sharper or blurrier than your footage, add the Noise effect to match textures and create a cohesive look.
Final touch: Nest your top and bottom layers together, then apply final color adjustments to the nest for a unified, polished appearance.
Once your background replacement looks clean and natural, make sure to finish with the best settings using this guide on how to export high-quality videos. If your playback becomes choppy while keying or masking, here’s how to render in Premiere Pro for smoother previews.
Why Remove Backgrounds in Premiere Pro?
Background removal (keying) is an essential video editing skill. It lets you:
- Replace bland skies with dramatic sunsets or cityscapes
- Add branded, animated, or virtual backgrounds
- Place your subject in any environment
- Correct mistakes or distracting elements in your footage
While After Effects is famous for advanced keying, Premiere Pro offers fast, effective background removal for many scenarios, especially with simple or consistent backgrounds.
Once your subject is isolated, you can experiment with more dynamic edits—such as reversing shots—by following this guide on how to reverse a clip in Premiere Pro.
Conclusion & Next Steps
Removing backgrounds in Premiere Pro is highly achievable with the Color Key and Ultra Key effects, especially if you plan your shots and use strong, even backgrounds. Remember:
- Clean, contrasting backgrounds = easier keys
- Stack keying effects and use masks for problem areas
- Color grade and add noise for seamless results
For the best outcomes, practice with different footage and experiment with settings until you get a natural blend.
Ready to take your editing to the next level?
Join Miracamp’s premium online Premiere Pro Course for step-by-step training, expert coaching, and exclusive resources on Premiere Pro, AI-powered editing, and advanced compositing.
FAQ Removing backgrounds in Premiere Pro
Can Premiere Pro remove backgrounds without a green screen?
Yes—using Color Key or Ultra Key, you can remove any solid color background, but results improve with uniform, contrasting backgrounds.
What if the background color is too similar to my subject?
Use masks to protect parts of your subject, or try adjusting lighting during filming for better separation. For very complex shots, consider using After Effects with Roto Brush for frame-by-frame masking.
Why do I get harsh edges or artifacts?
Increase feathering on your mask, or use Matte Cleanup controls in Ultra Key for softer transitions.
Can I animate the mask if my subject moves?
Yes, you can keyframe the mask path to follow your subject over time, though it’s best to keep movement minimal for easier keying in Premiere Pro.


