

Looking to add a futuristic touch to your edits? The hologram effect is a visually stunning way to make your phone scrolls look straight out of a sci-fi movie. In this step-by-step guide, you’ll learn exactly how to create a hologram effect in Premiere Pro, using simple tools, pro tips, and animation for a truly impressive result. This tutorial is beginner-friendly and perfect for content creators, filmmakers, and anyone wanting to spice up their social media videos.
What Is the Hologram Effect in Premiere Pro?
The hologram effect transforms an ordinary phone screen recording into a floating, digital-looking element—appearing as if your content is projected in mid-air. It’s popular in tech ads, sci-fi edits, and Instagram reels to create an eye-catching, high-tech vibe.
Video Tutorial
Step 1: Record Your Footage
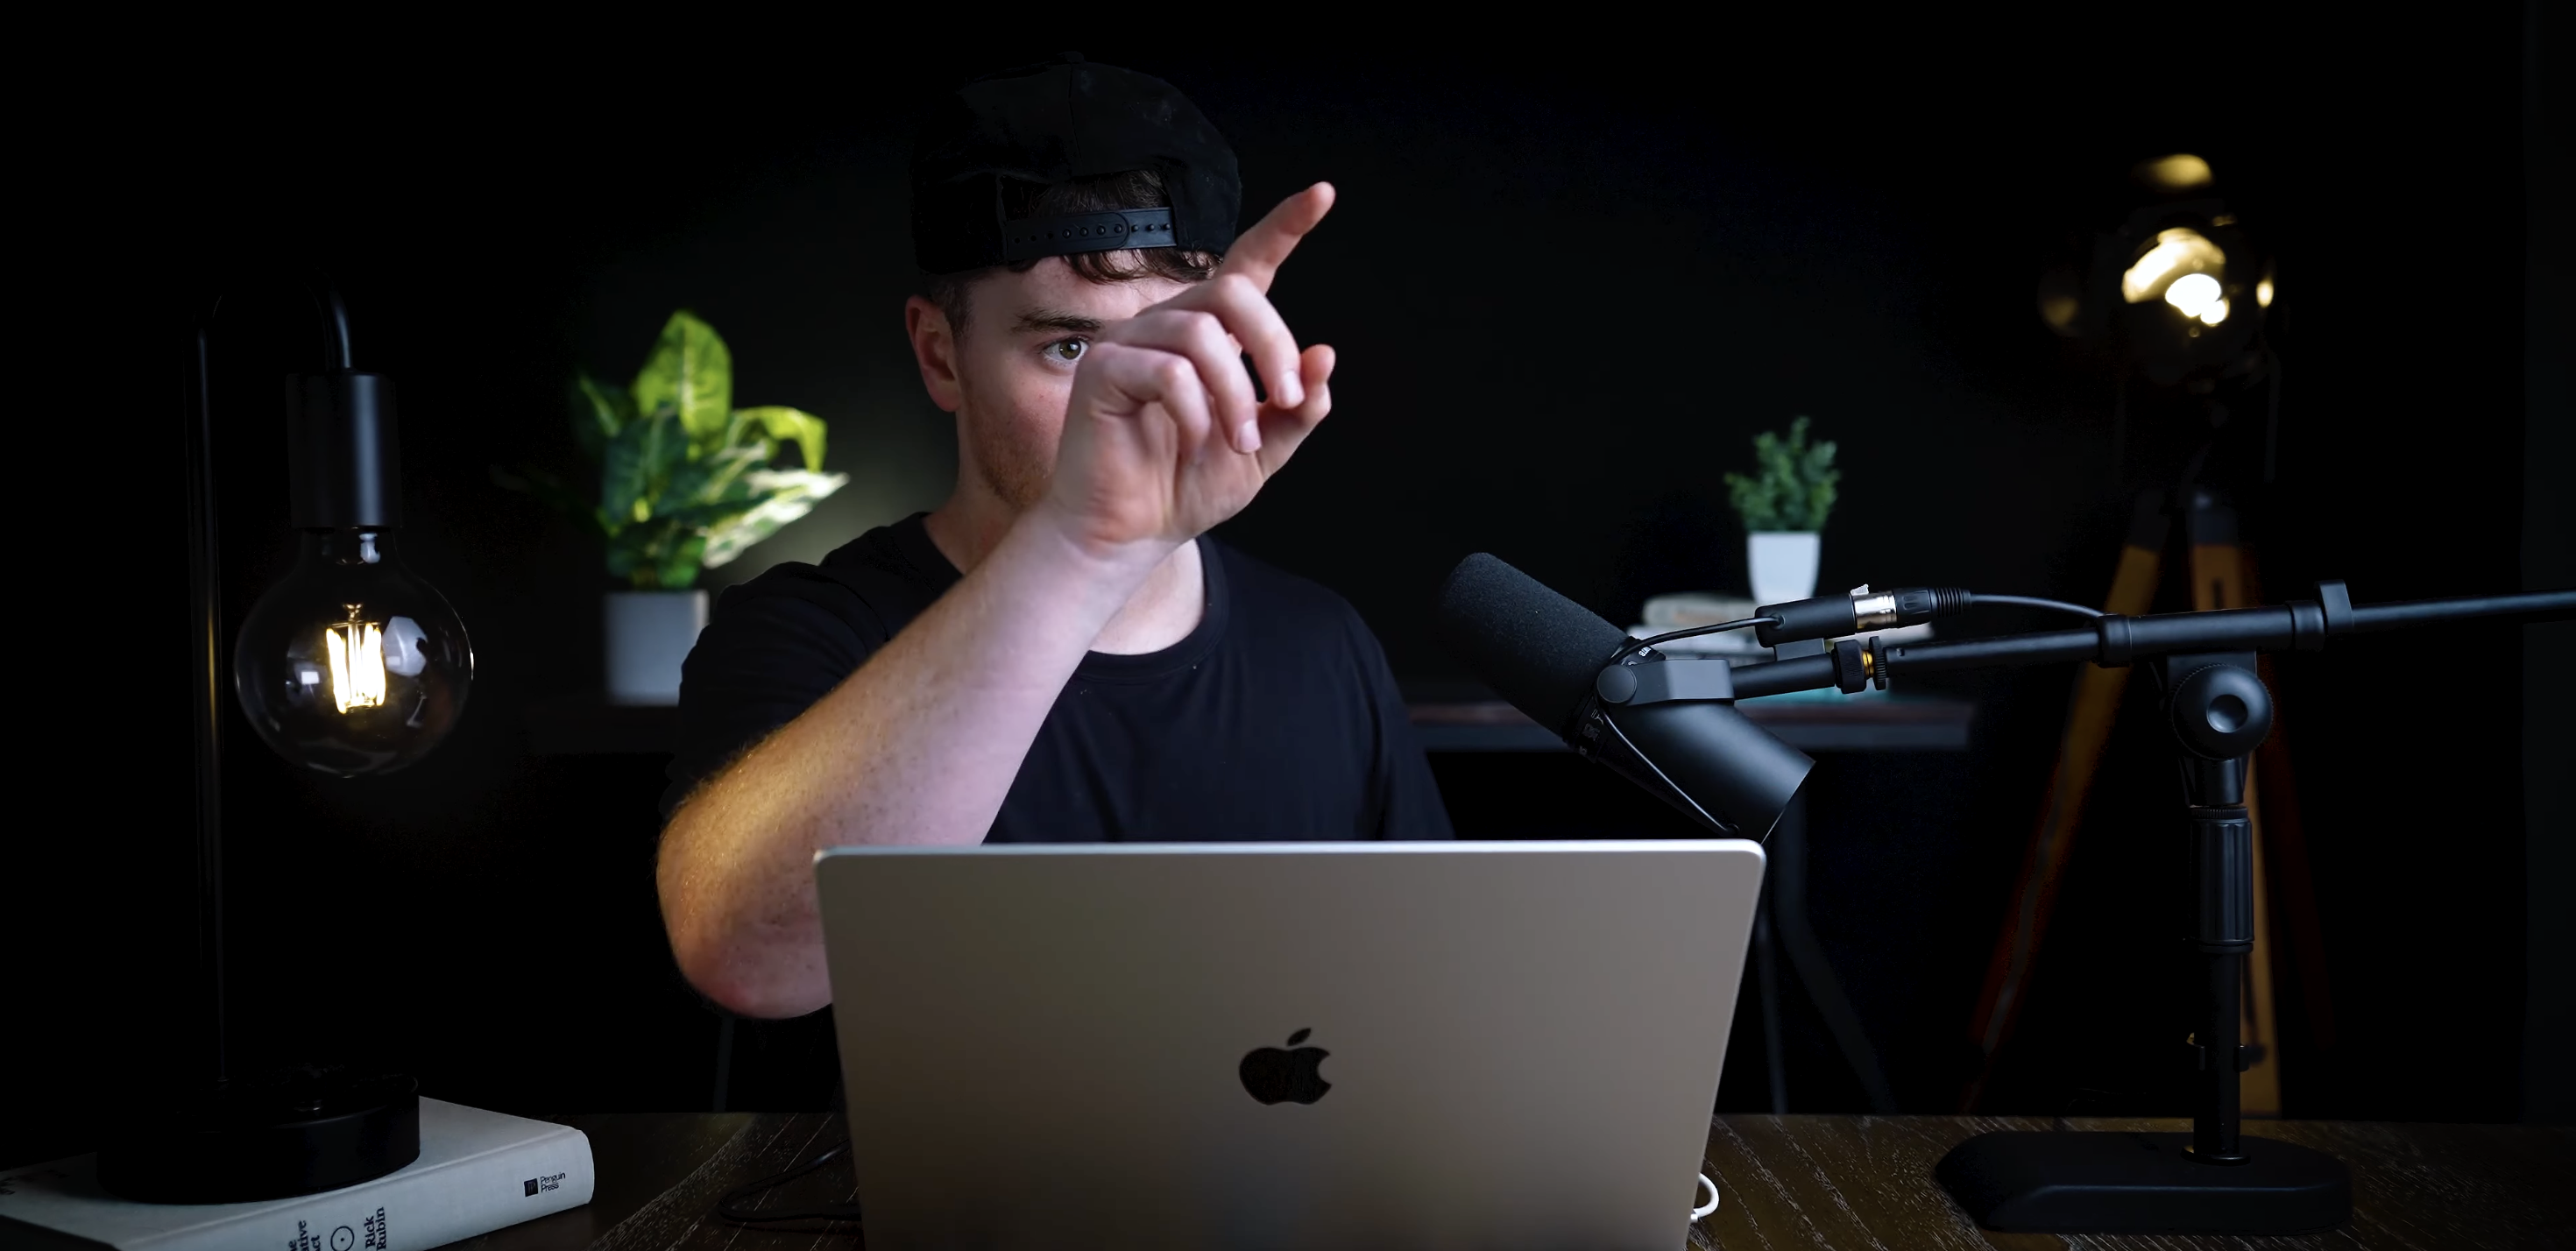
Start by filming yourself acting as if you’re swiping or scrolling on your phone. Make sure your hand movements are visible and natural—this will make your effect more convincing.
Next, screen record your phone while performing the actual scroll or action you want to display in the hologram. For perfect synchronization, watch your video while recording your phone screen:
- When you see yourself swipe on camera, swipe on your phone at the same moment.
- This keeps both actions perfectly in sync for a realistic look.
Step 2: Import & Layer Your Clips in Premiere Pro
Open Premiere Pro and import both clips: your main video (with your acting) and the phone screen recording.
- Place your main video on the timeline.
- Put the phone screen recording above your main video on a higher track.
Step 3: Crop and Sync Your Phone Screen Recording
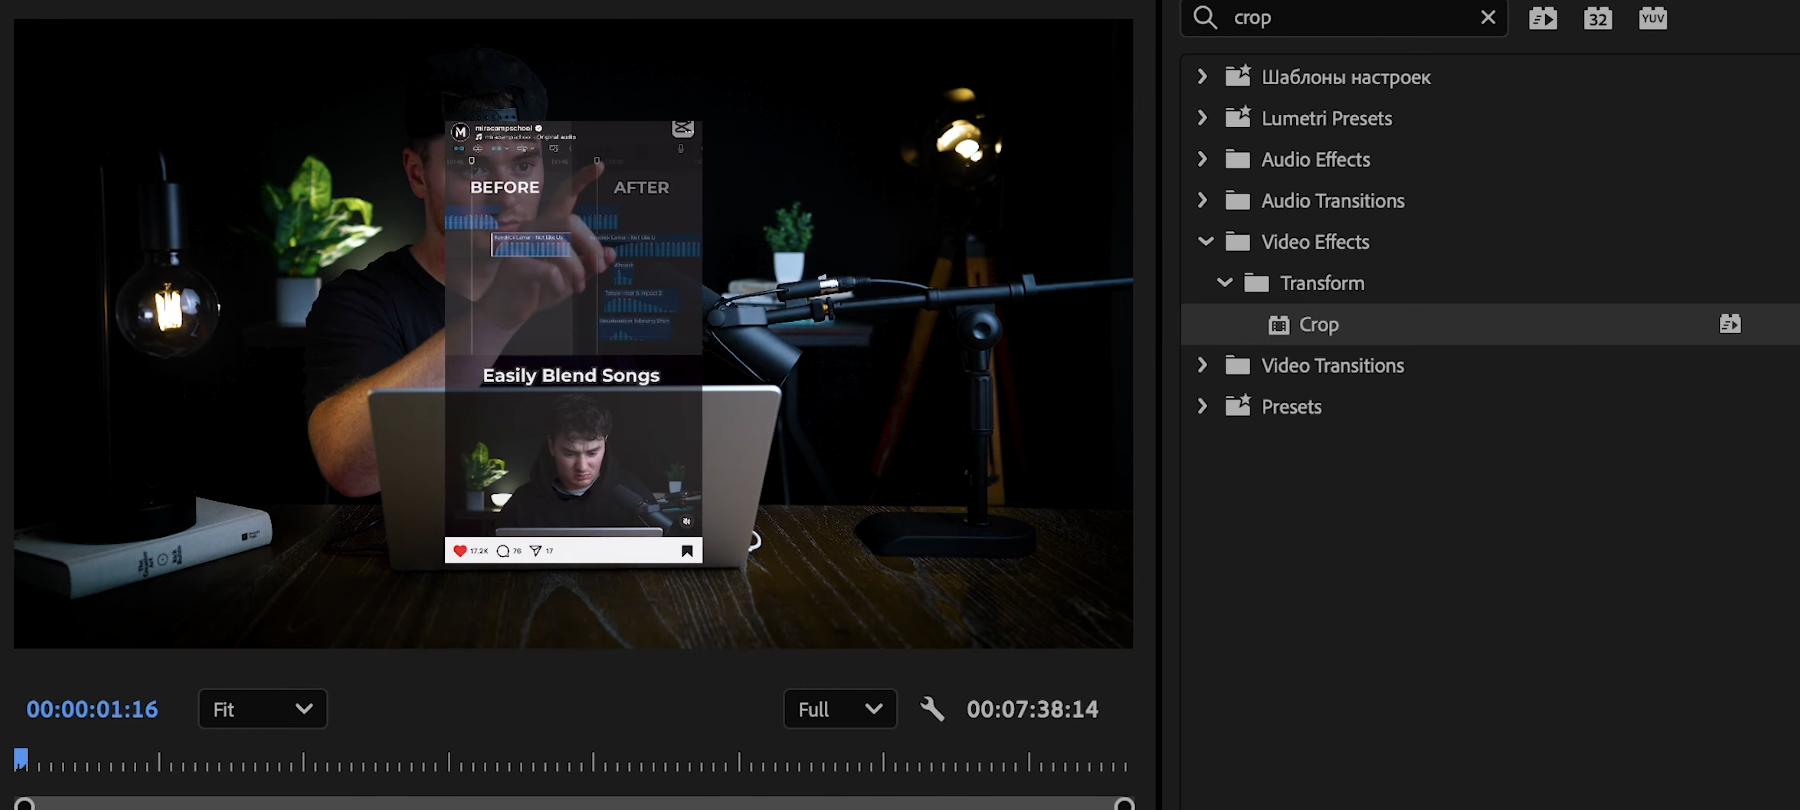
Go to the Effects panel, search for “Crop,” and drag it onto your screen recording.
- Crop away any unwanted areas, like the phone bezel or notifications, so only the relevant screen remains.
Now, sync the screen recording to your hand movements:
- Temporarily lower the opacity of your screen recording so you can see both layers together.
- Scrub through the timeline and align the screen recording to match each swipe or tap.
- Make cuts and slide the clip as needed for a seamless effect.
Remember, slight glitches are totally fine—they can add to the hologram vibe!
Step 4: Nest the Screen Recording Layer
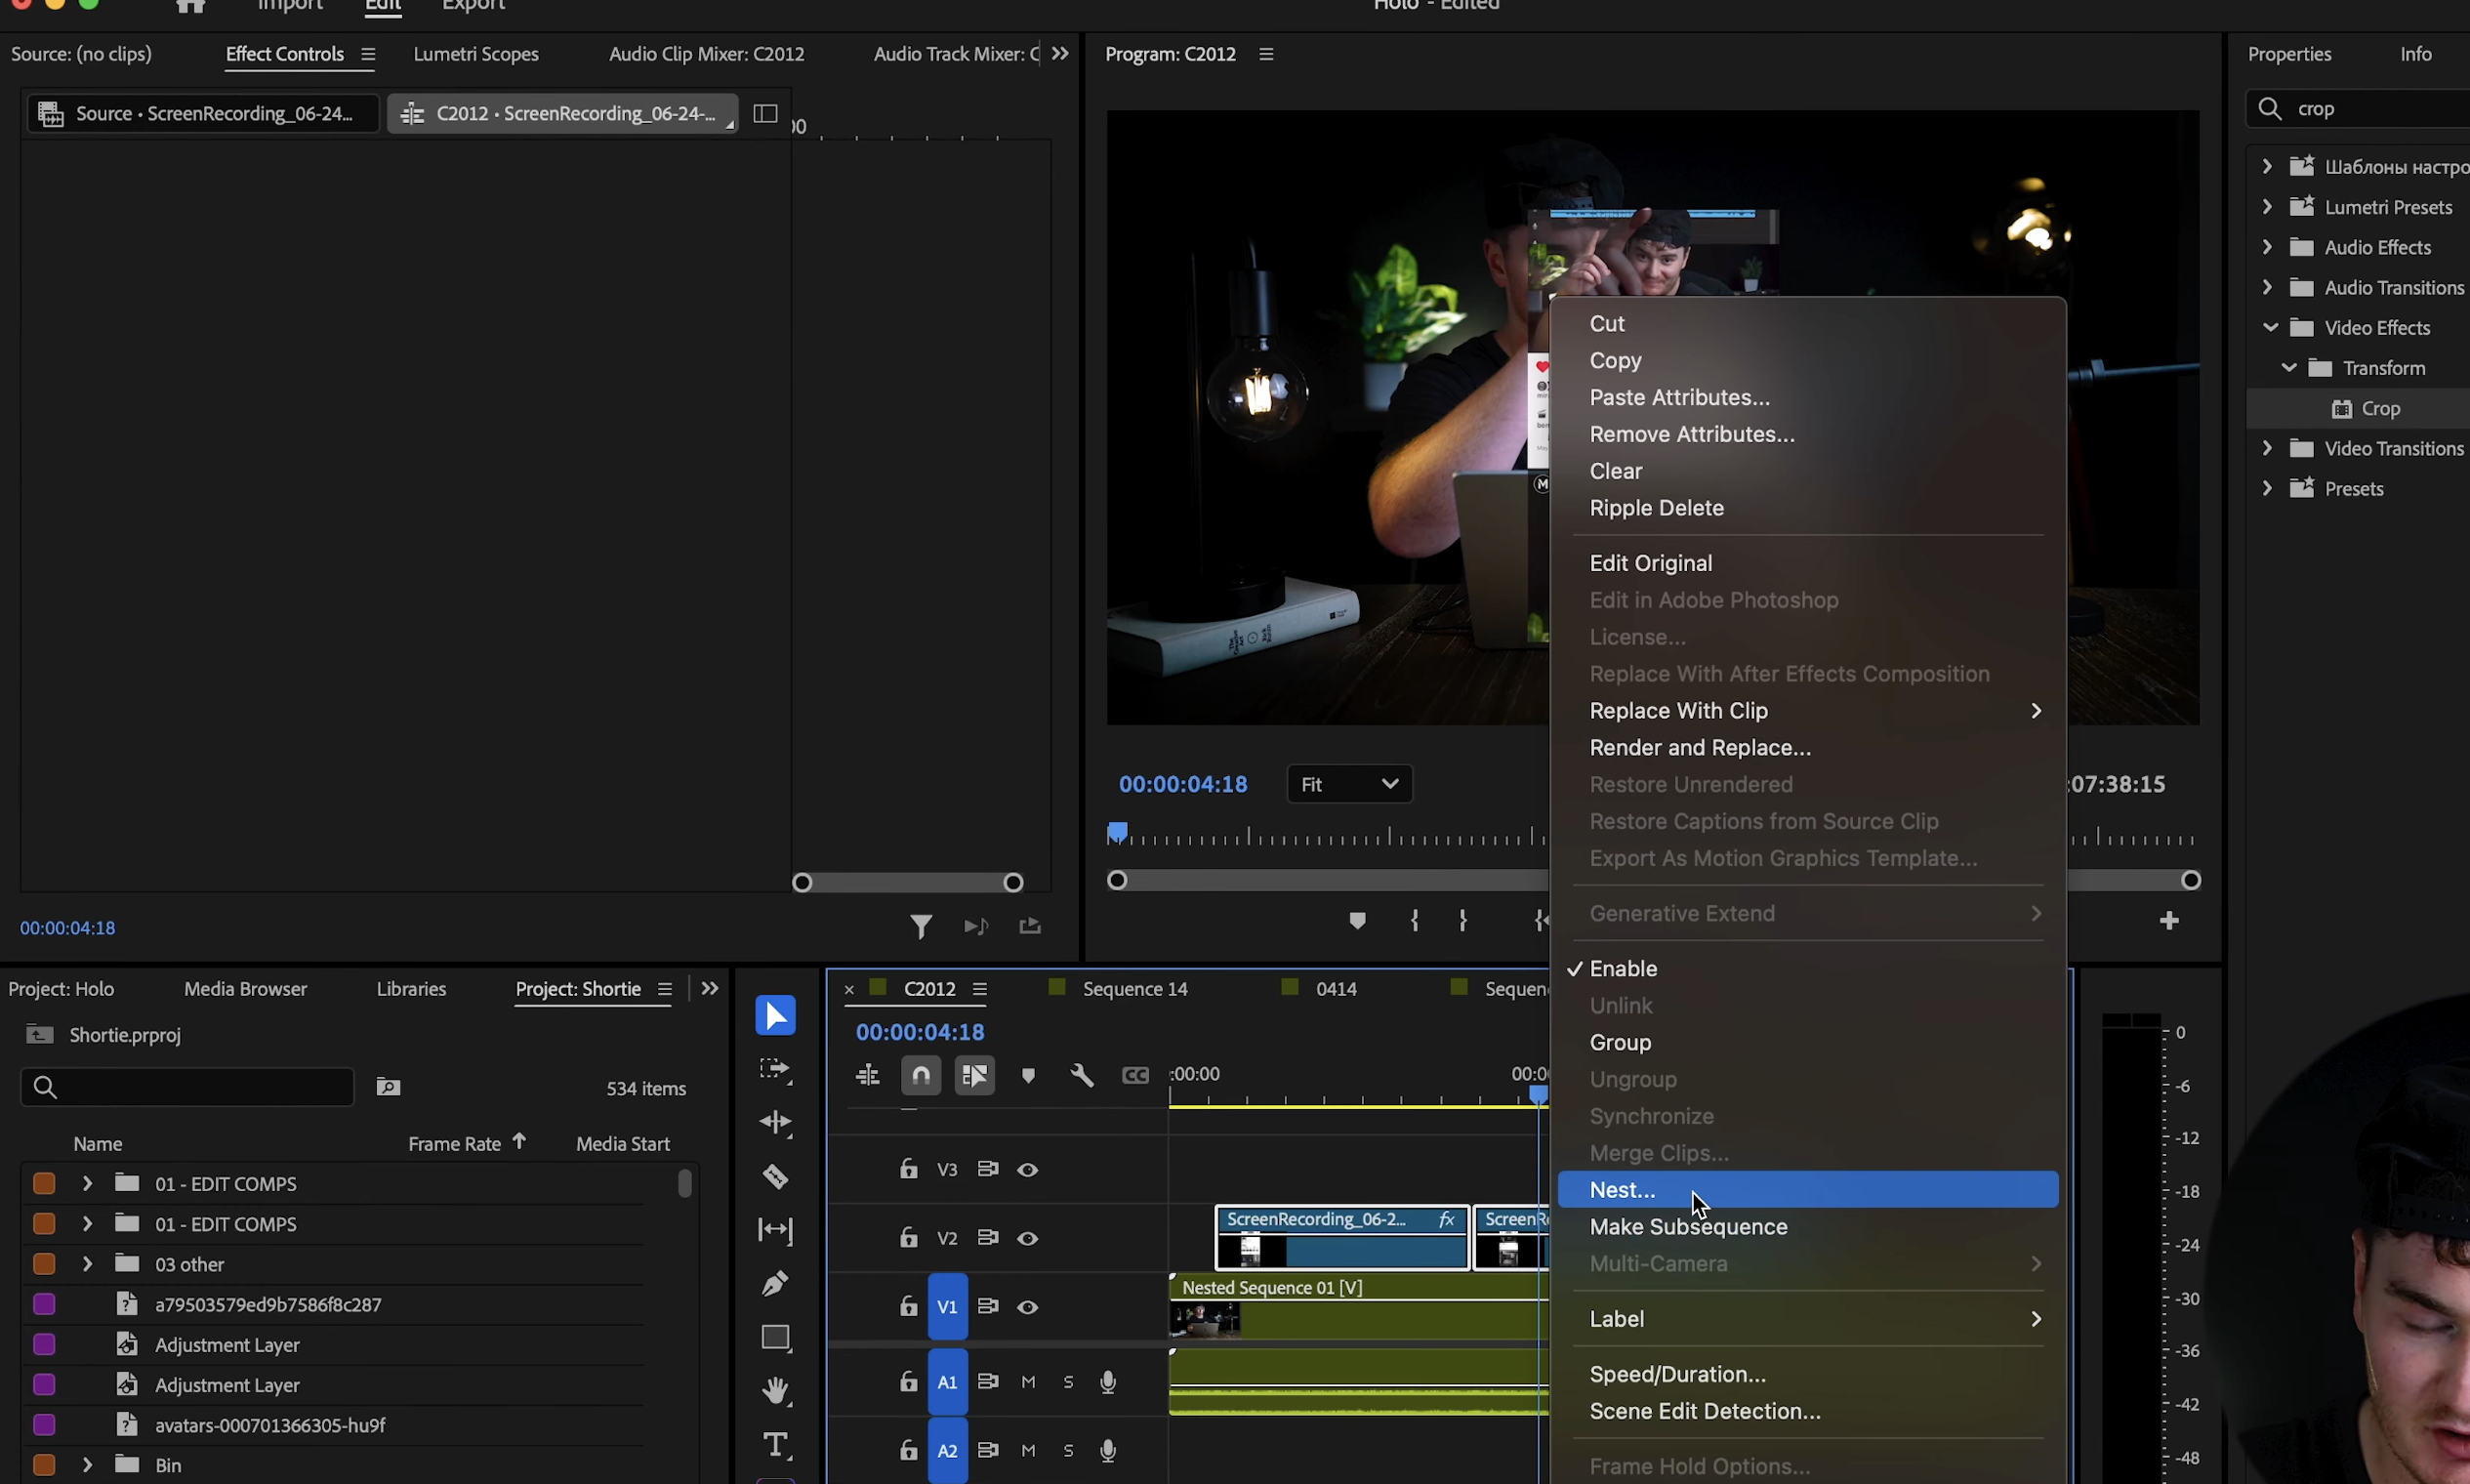
Once everything is synced, nest the screen recording layer.
- Right-click the screen recording track and choose “Nest.”
- This allows you to apply effects to the entire hologram element at once.
Step 5: Color Grade for the Hologram Look
To make your hologram look digital and futuristic:
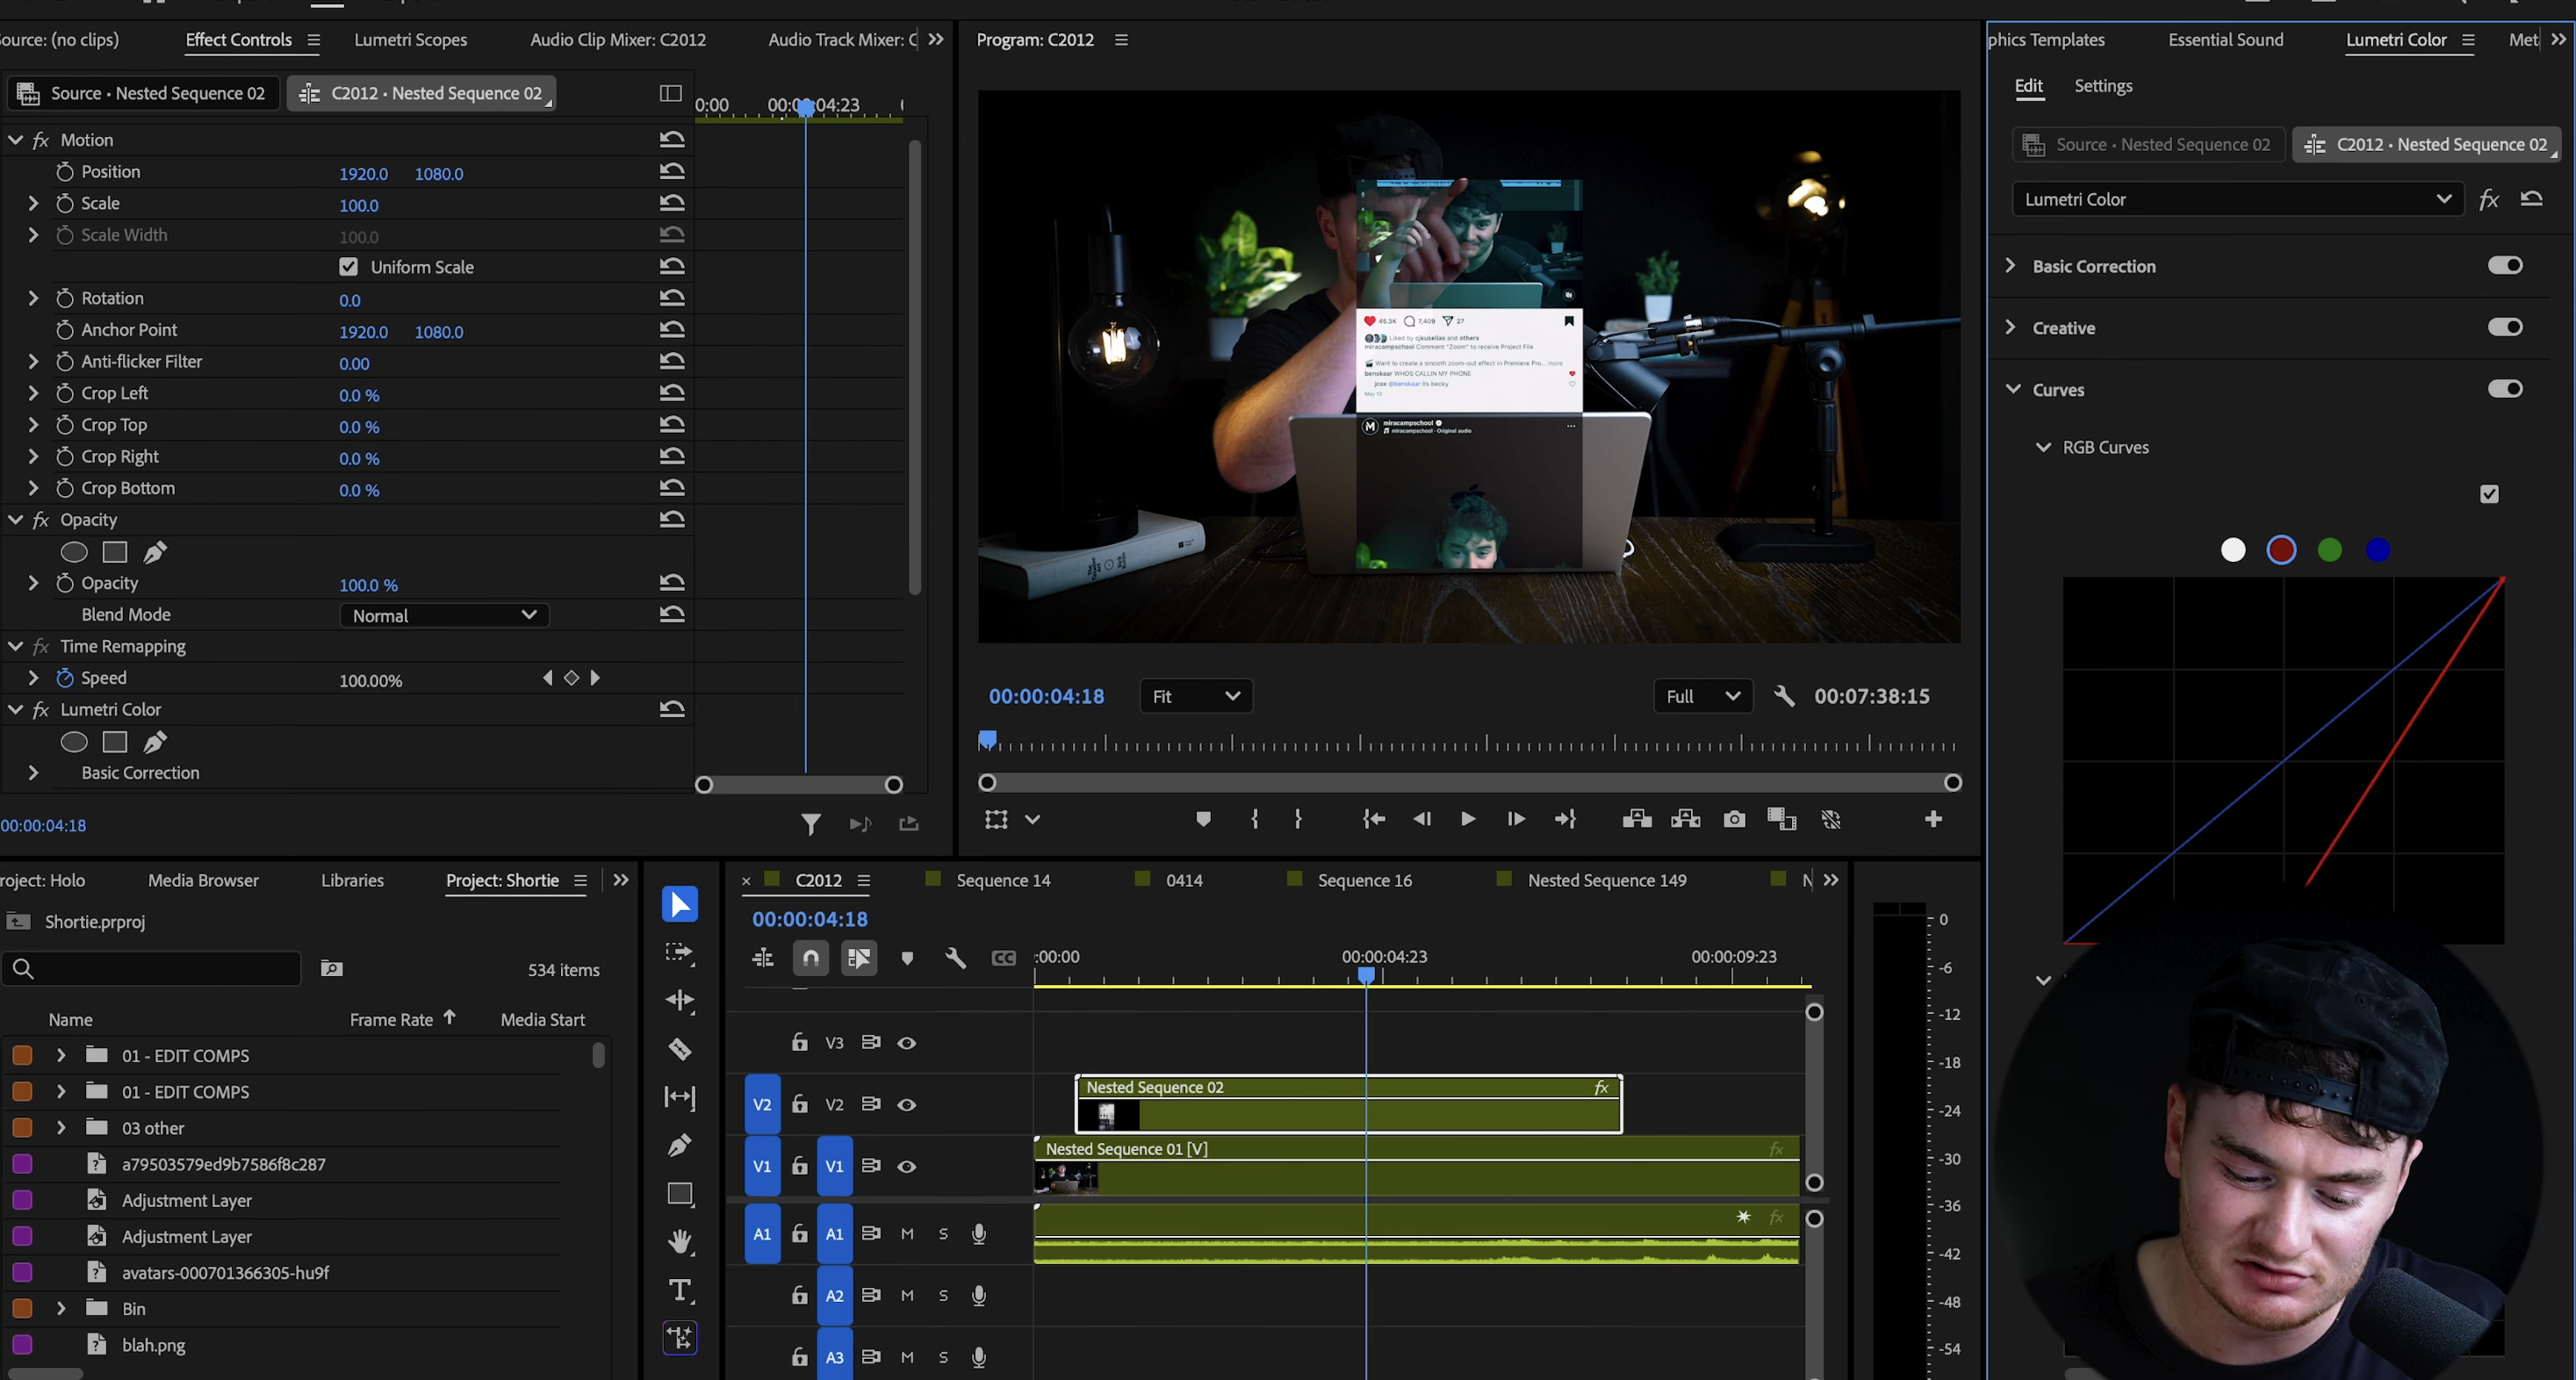
- Open Lumetri Color.
- Go to the Curves section.
- Select the Red Curve and drag it down to reduce reds in your image.
- Add blue and cyan tones for a classic hologram feel.
Step 6: Add Digital Glitch & Glow Effects
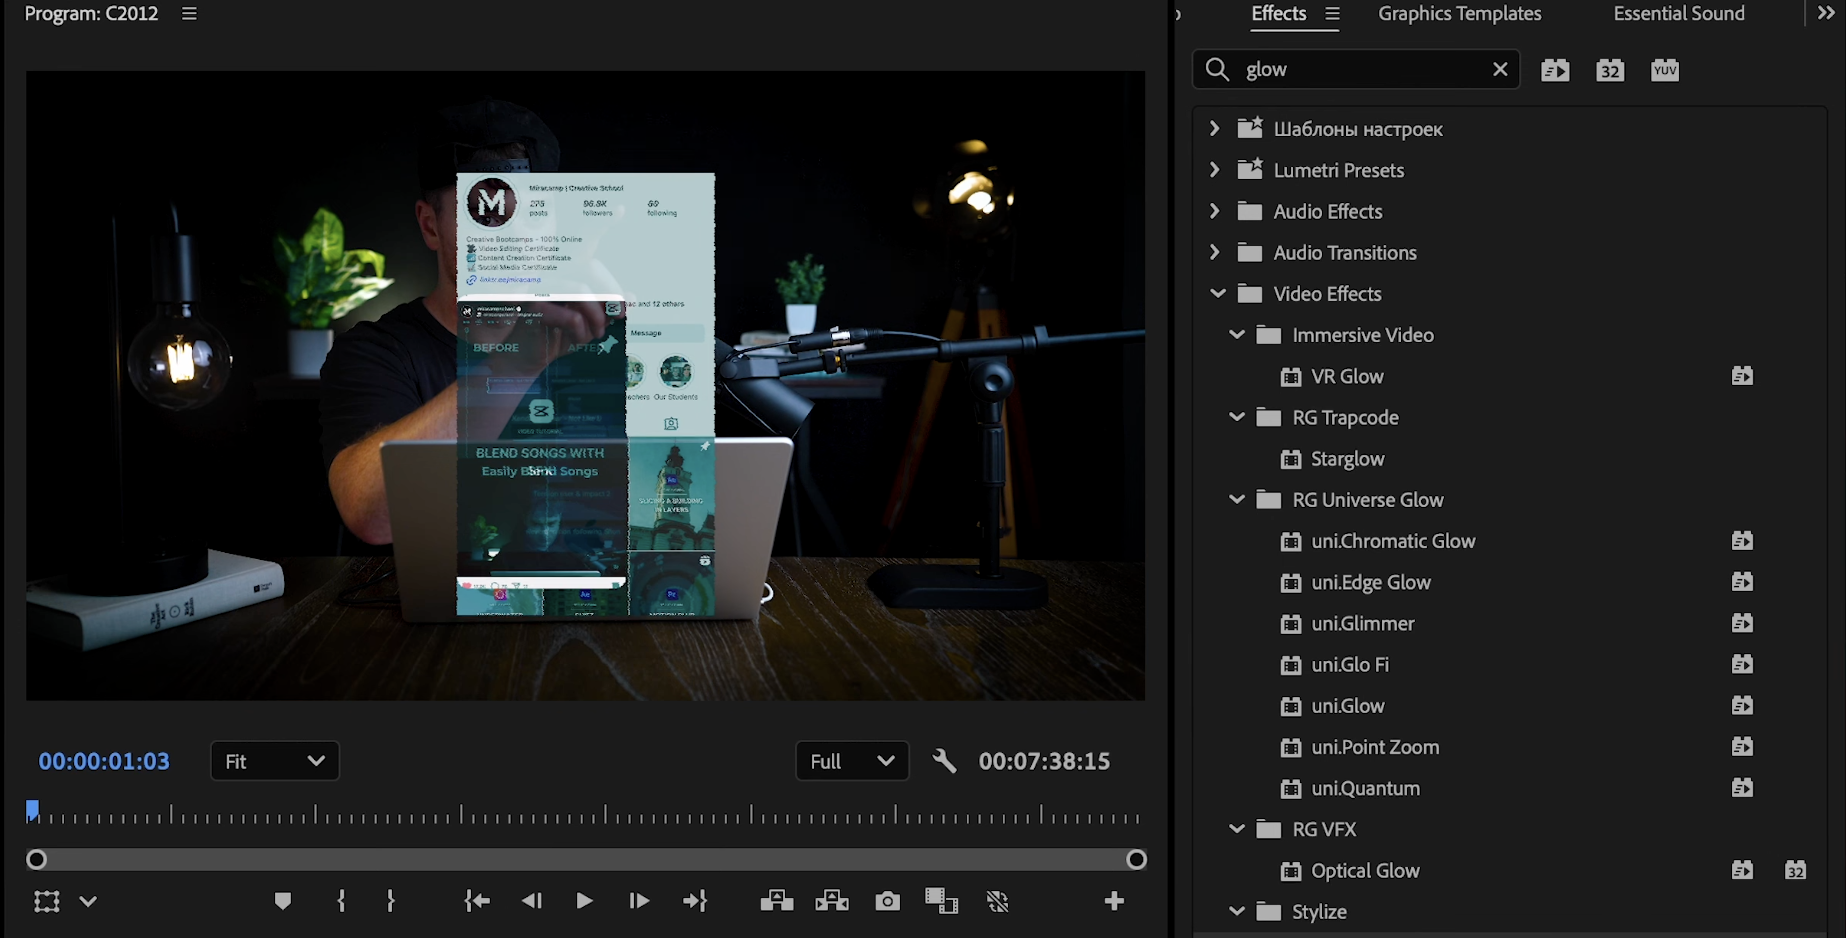
- Wave Warp:
Go to Effects, search for “Wave Warp,” and apply it to your nest.- In Effect Controls:
- Set Wave Type to Smooth Noise
- Direction to 0
- Wave Speed to around 5
This creates a subtle, digital distortion perfect for holograms.
- In Effect Controls:
- Alpha Glow:
Add the “Alpha Glow” effect to your nest.- Set Glow and Brightness to around 100
- Change the color to a cyan or digital blue
This gives your screen recording that glowing sci-fi edge.
If you want to push the cinematic look even further, you can experiment with the Film Halation effect to add a soft, glowing bloom around highlights.
Step 7: Adjust Perspective with 3D Controls
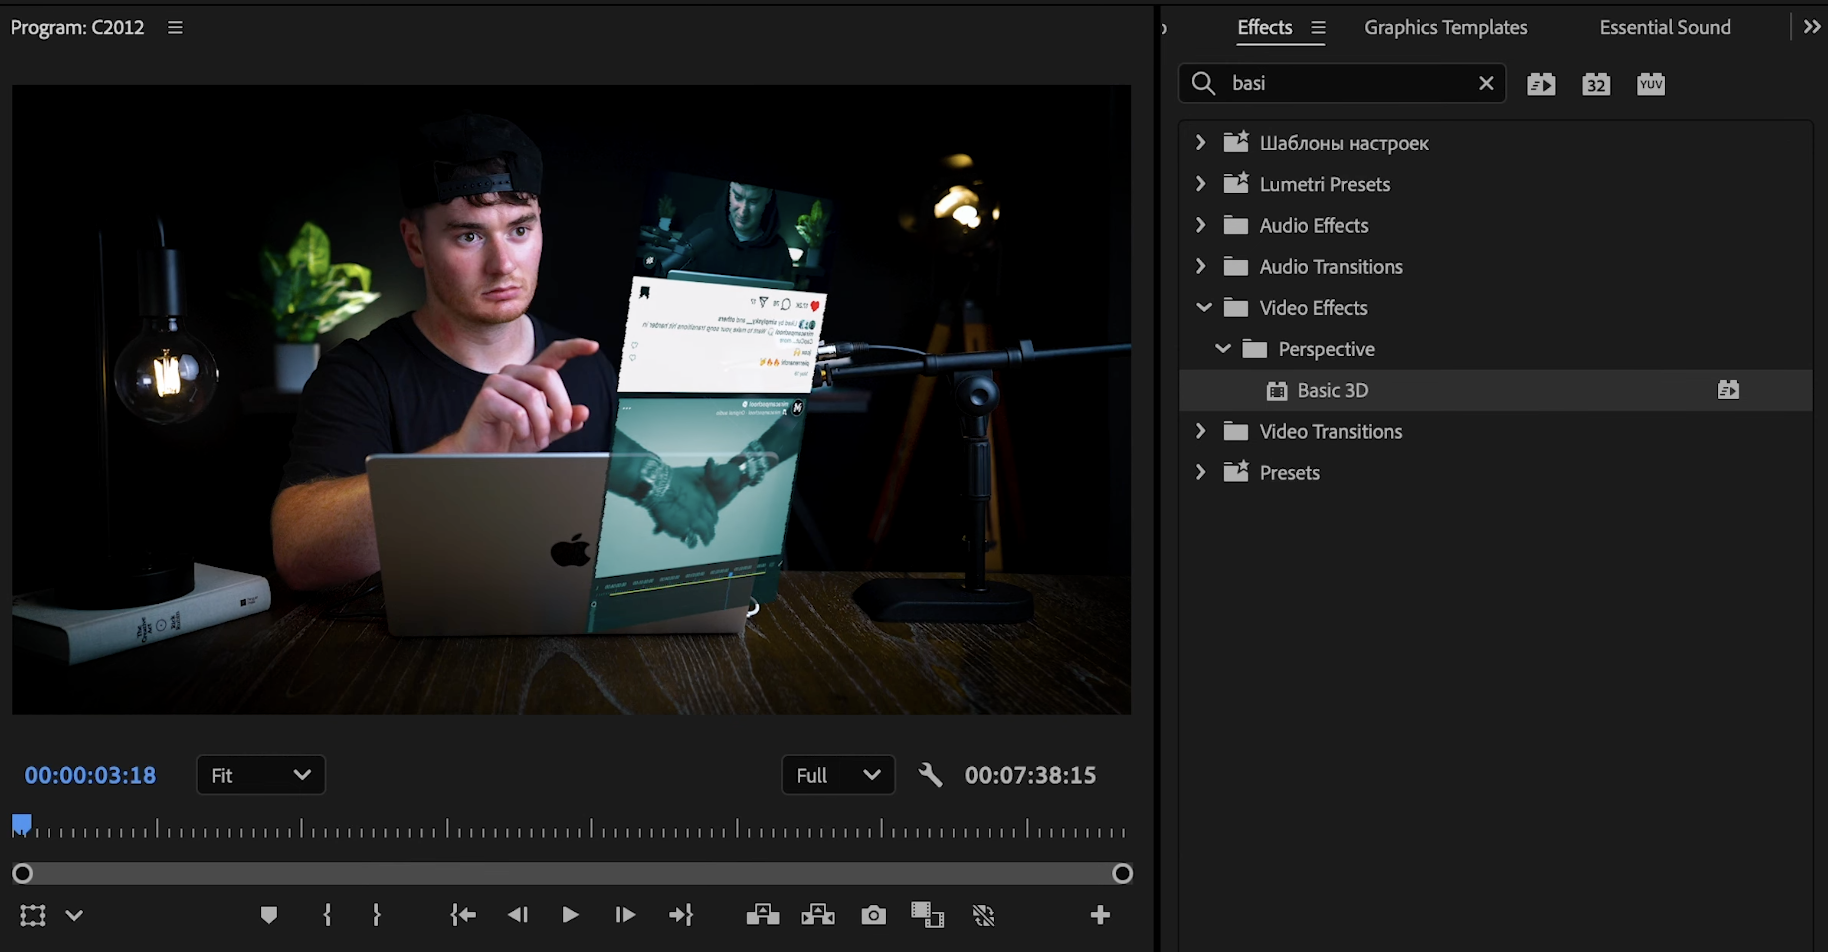
To make the hologram float at the right angle:
- Search “Basic 3D” in Effects and apply to your nest.
- In Effect Controls, tweak the Swivel, Tilt, and Distance settings until your hologram matches your hand’s position and movement.
To enhance the lighting realism around your hologram, consider adding subtle lens flare effects for extra atmosphere.
Step 8: Animate the Hologram Pop-Up

For a polished effect, animate your hologram’s entrance:
- Go a few frames after the point where the hologram should appear.
- Keyframe Scale and Position at this point.
- Move to the start of the clip, set Scale to 0 and adjust Position so the hologram comes in from off-screen.
- Drag keyframes closer together for a snappier animation.
To add a fade-in:
- Keyframe Opacity: at the main keyframe, opacity is 100. At the start, set opacity to 0.
- Your hologram now fades in and pops up, just like in futuristic movies!
Step 9: Add Sound Effects
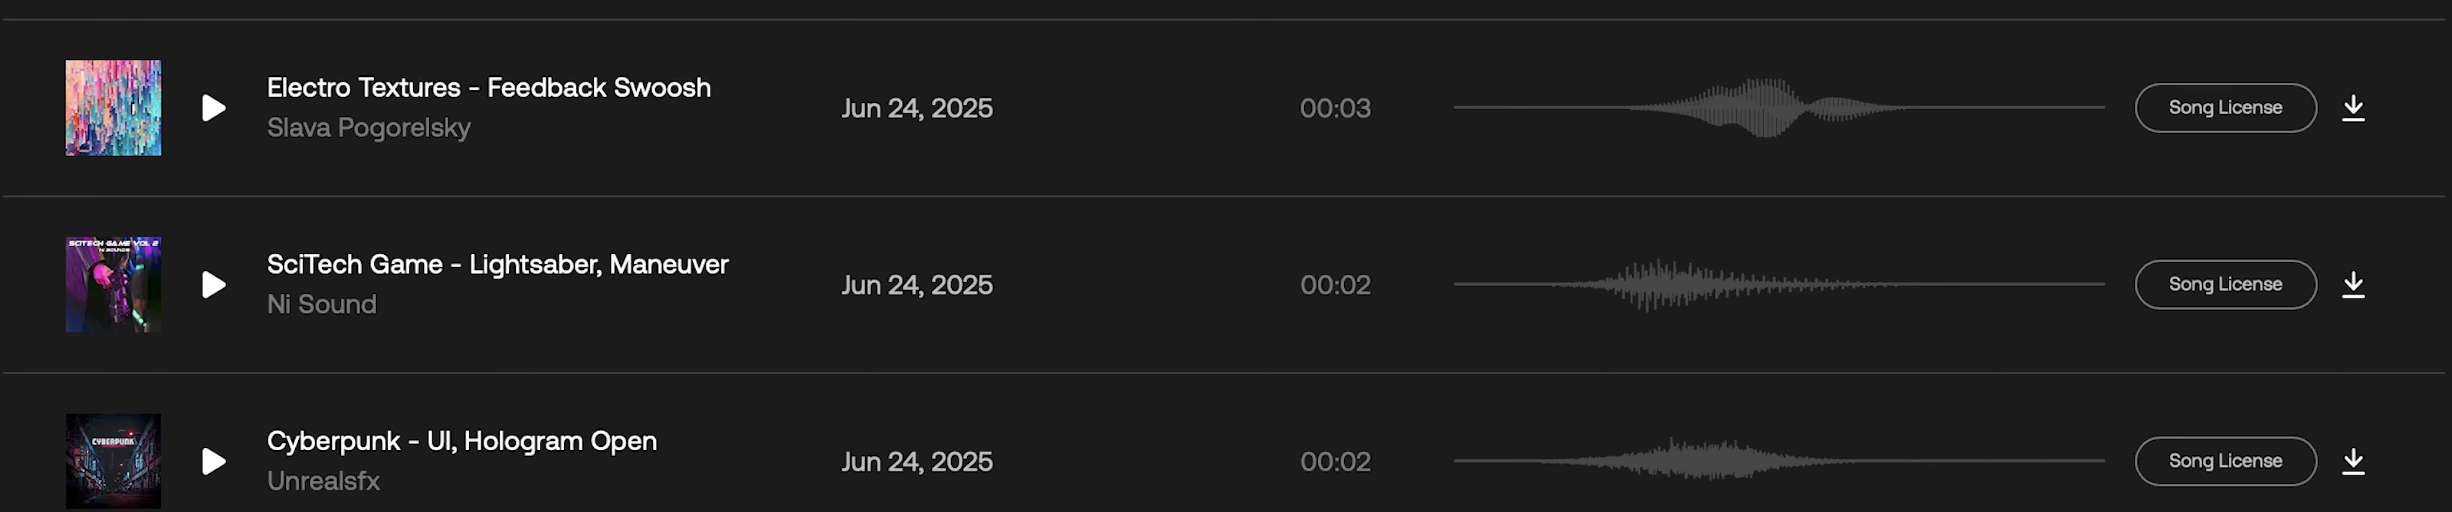
Bring your effect to life with sci-fi sound design:
- Add UI beeps, swooshes, and electronic feedback.
- Recommended sounds: “UI hologram,” “open electrotextures,” “feedback swoosh,” “lightsaber maneuver” (available on Artlist or similar libraries).
- Align SFX with your animation for extra realism.
For more dynamic motion-based transitions, try the Frame Slide effect to add smooth, stylish movement between scenes.
Pro Tips for a Realistic Hologram Effect
- Don’t worry about small glitches—holograms are expected to be a little imperfect.
- Use a subtle shadow or light reflection under the hologram for even more realism.
- You can use the same process for any type of screen (tablets, computers, etc.)—just adjust your cropping and perspective.
- Experiment with different glow colors or glitch settings for unique styles.
You can also experiment with creative looks such as the Kaleidoscope effect for unique, futuristic visual styles.
If you enjoy building stylized VFX inside Premiere, you can also try creating the Scary Eye effect for dramatic, horror-style visuals.
Conclusion
With these steps, you can easily create a stunning hologram phone scroll effect in Premiere Pro—perfect for social media, creative videos, or high-impact intros. Sync your footage, color it for that digital look, animate, and add sound for a truly professional, sci-fi result.
Want to take your Premiere Pro skills to the next level?
Check out Miracamp’s Premiere Pro course for in-depth tutorials, creative effects, and industry tips from professional editors.
Frequently Asked Questions
Can you create a hologram effect in Premiere Pro without plugins?
Yes, you can create a convincing hologram effect in Premiere Pro using only built-in tools and effects like Crop, Lumetri Color, Wave Warp, Alpha Glow, and Basic 3D—no third-party plugins are required.
How do you sync your hand movements with the phone screen recording?
The easiest way is to watch your video of yourself acting while recording your phone screen. When you see yourself swipe or tap, perform the same action on your phone at that moment. This keeps the movements perfectly in sync for a realistic effect.
What are the best settings for the hologram look?
For a classic digital hologram, use a cyan-blue color in your Alpha Glow, reduce reds in Lumetri Color, and add Wave Warp for subtle distortion. Adjust the Basic 3D effect to match your hand’s angle for extra realism.
Can I use this effect for other devices besides phones?
Absolutely! You can apply the same method for tablets, laptops, or even TV screens—just crop your screen recording to fit and adjust the 3D and glow effects as needed.
How can I make the hologram appear more realistic?
- Add subtle shadows or light reflections beneath the hologram.
- Use sound effects like digital swooshes or beeps.
- Allow for minor glitches or flickers—these add to the hologram feel.
Where can I find sound effects for my hologram animation?
Sound libraries like Artlist, Epidemic Sound, and even free libraries on YouTube offer high-quality UI, sci-fi, and hologram sound effects. Search for keywords like "hologram," "UI swoosh," "digital beep," or "sci-fi feedback."


