In this guide, we’ll show you how to sync audio and video in DaVinci Resolve using multiple methods—manual and automatic—so you can choose what works best for your footage and workflow.
Method 1: Sync Audio and Video Using Waveform (Automatic)
This is the most common and user-friendly method, using Resolve’s ability to match the waveform of your camera audio and external audio.
Step-by-step:
- Go to the Media Page (not the Edit Page)
- Select both the video file and the external audio file (Ctrl/Cmd + Click)
- Right-click → Choose “Auto Sync Audio”
- Select “Based on Waveform”
- Done! Resolve will match the waveforms and link the files together
✅ Works best when both camera and external audio are clearly recorded and start at the same time.
Alternative: Auto Sync Audio and Replace Track
Want to remove the camera’s onboard audio and replace it automatically with the external track?
Use the “Based on waveform and replace” option:
- Select both files
- Right-click > Auto Sync Audio > Based on Waveform and Replace
- The external audio now replaces the camera audio in the timeline (non-destructively)
🎯 This is great for single-cam interviews or talking head setups.
Method 2: Sync by Timecode (Pro Shoots)
If your camera and audio recorder were jam-synced or use the same timecode (common on pro sets), syncing becomes extremely fast.
How to sync by timecode:
- Import both video and audio files into the Media Pool
- Select them both
- Right-click > Auto Sync Audio > Based on Timecode
🕐 Resolve will perfectly match files with identical timecode.
⚠️ Make sure your recorder and camera were synced properly before the shoot.
Method 3: Manual Sync Using Clap or Slate
Didn’t use a timecode device or Resolve can't match waveforms? You can always sync manually using a visual or audio cue (like a clapperboard, hand clap, or mouth movement).
Step-by-step:
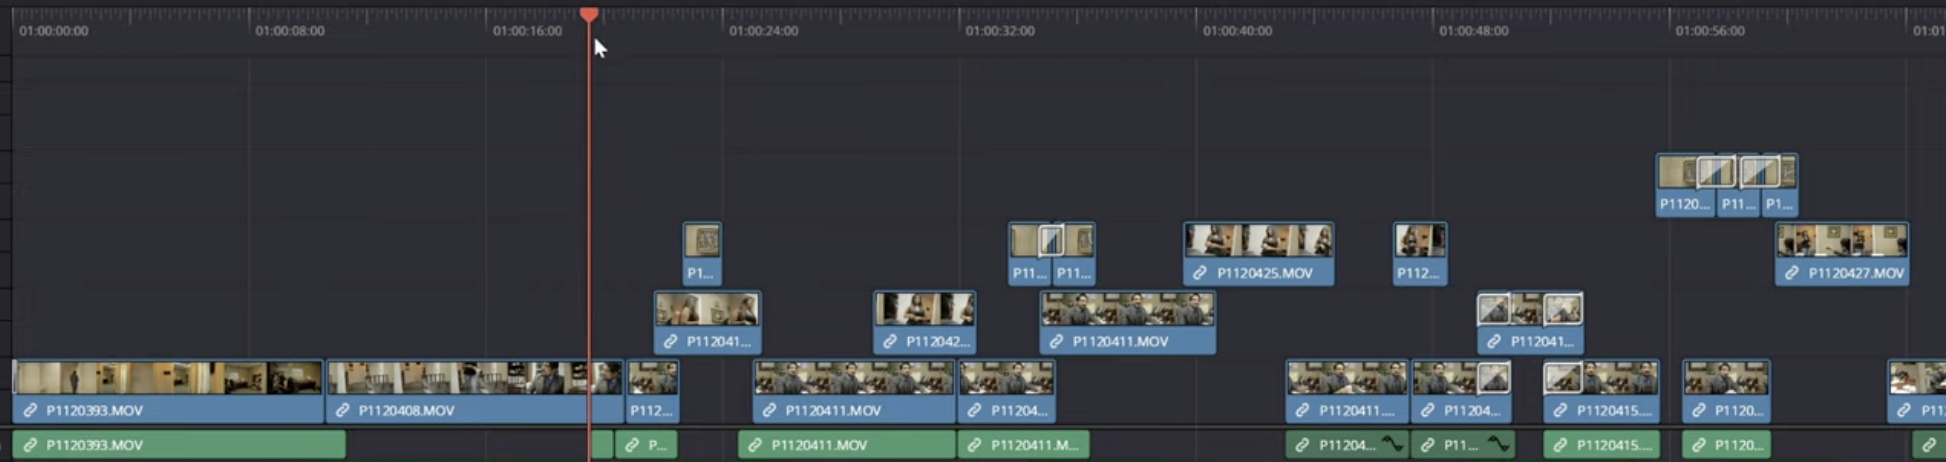
- Drag your video and audio onto the timeline
- Zoom into the frame where the clap or slate occurs
- Use the waveform viewer to line up the peaks
- Align the audio so the clap sound matches the clap visual
- Play to confirm sync
- Optionally, link the clips (Right-click > Link Clips)
🧠 This method takes time but works even with noisy audio or mismatched files.
Method 4: Sync Using Multicam (Perfect for Interviews & Events)
For multi-camera shoots, DaVinci Resolve offers a full Multicam sync tool using waveform or timecode across many angles.
How to set it up:
- Go to Media Page
- Select all clips you want in the multicam setup (video + audio)
- Right-click > Create New Multicam Clip Using Selected Clips
- Choose Sync via: Waveform or Timecode
- Click OK. A new multicam clip is created
- Use that multicam clip in your timeline. Open the Angle Viewer for live switching.
🔁 Multicam sync lets you edit interviews, performances, or dialogue scenes like a pro.
Where to See If Audio Is Synced
Once synced, you can:
- Right-click the video clip > Clip Attributes
- Check the Audio tab to confirm that the synced audio is active
- Choose which audio channel to use (original camera audio, external, or both)
🔍 Comparison Table: Audio Sync Methods in Resolve
Common Issues & How to Fix Them
❌ Auto Sync by Waveform Doesn’t Work?
- Background noise or poor quality camera mic may prevent matching
- Try manual syncing or syncing by in-points
- Normalize or boost audio before attempting waveform match
❌ Audio Sounds Out of Sync in Timeline?
- Check your frame rate (timeline and clip must match)
- Check if your clip has variable frame rate (VFR)—transcode to constant frame rate
- Manually nudge audio left/right with Alt + arrow keys
Pro Tips for Audio Sync in Resolve
- Use dual mono or stereo tracks for voice recording
- Label your clips clearly (e.g., “INT_AUDIO_ZOOM”, “CAM1_A001”)
- Always check waveform alignment before linking or exporting
- Save synced clips as compound clips to stay organized
Why Sync Audio and Video in Post-Production?
When you use a DSLR or mirrorless camera with an external audio recorder (like a Zoom H6 or shotgun mic), you typically end up with:
- A video file with poor onboard audio, and
- A high-quality audio file recorded separately
DaVinci Resolve allows you to replace the camera audio with the external file and ensure perfect lip-sync. This is also key when managing multicam projects or syncing dialogue across multiple takes.
If you need to completely silence a clip instead of separating or editing its audio, here’s a simple guide on how to remove sound from video in DaVinci Resolve to mute or delete audio tracks instantly.
Want to Edit Faster & Smarter in DaVinci Resolve?
Syncing is just the start. Learn pro workflows, multicam edits, color grading, and advanced tools to take your videos to the next level.
👉 Start learning today with our DaVinci Resolve Course.
FAQ Syncing Audio in DaVinci Resolve
Can I sync audio in the Edit page?
Technically yes, but for best results and access to Auto Sync options, use the Media page.
Can I relink or unsync audio later?
Yes. You can unlink, replace, or relink audio anytime by right-clicking the clip and adjusting via Clip Attributes.
Does syncing change the original files?
No. Resolve works non-destructively. Your original video and audio files remain untouched.